Quick Start Guide
Get up and running with OptionTrigger in 5 minutes - from registration to your first trade plan
This guide will get you from zero to your first trade plan in just 5 minutes. We'll cover the essential steps to start using OptionTrigger.
What you'll accomplish: Register an account, install OptionTrigger, connect to your broker, and create your first trade plan on a TradingView chart.
Prerequisites
Before you begin, make sure you have:
- A TradingView account (free or paid)
- Interactive Brokers TWS or IB Gateway installed
- macOS or Windows computer
Step 1: Register Your Account
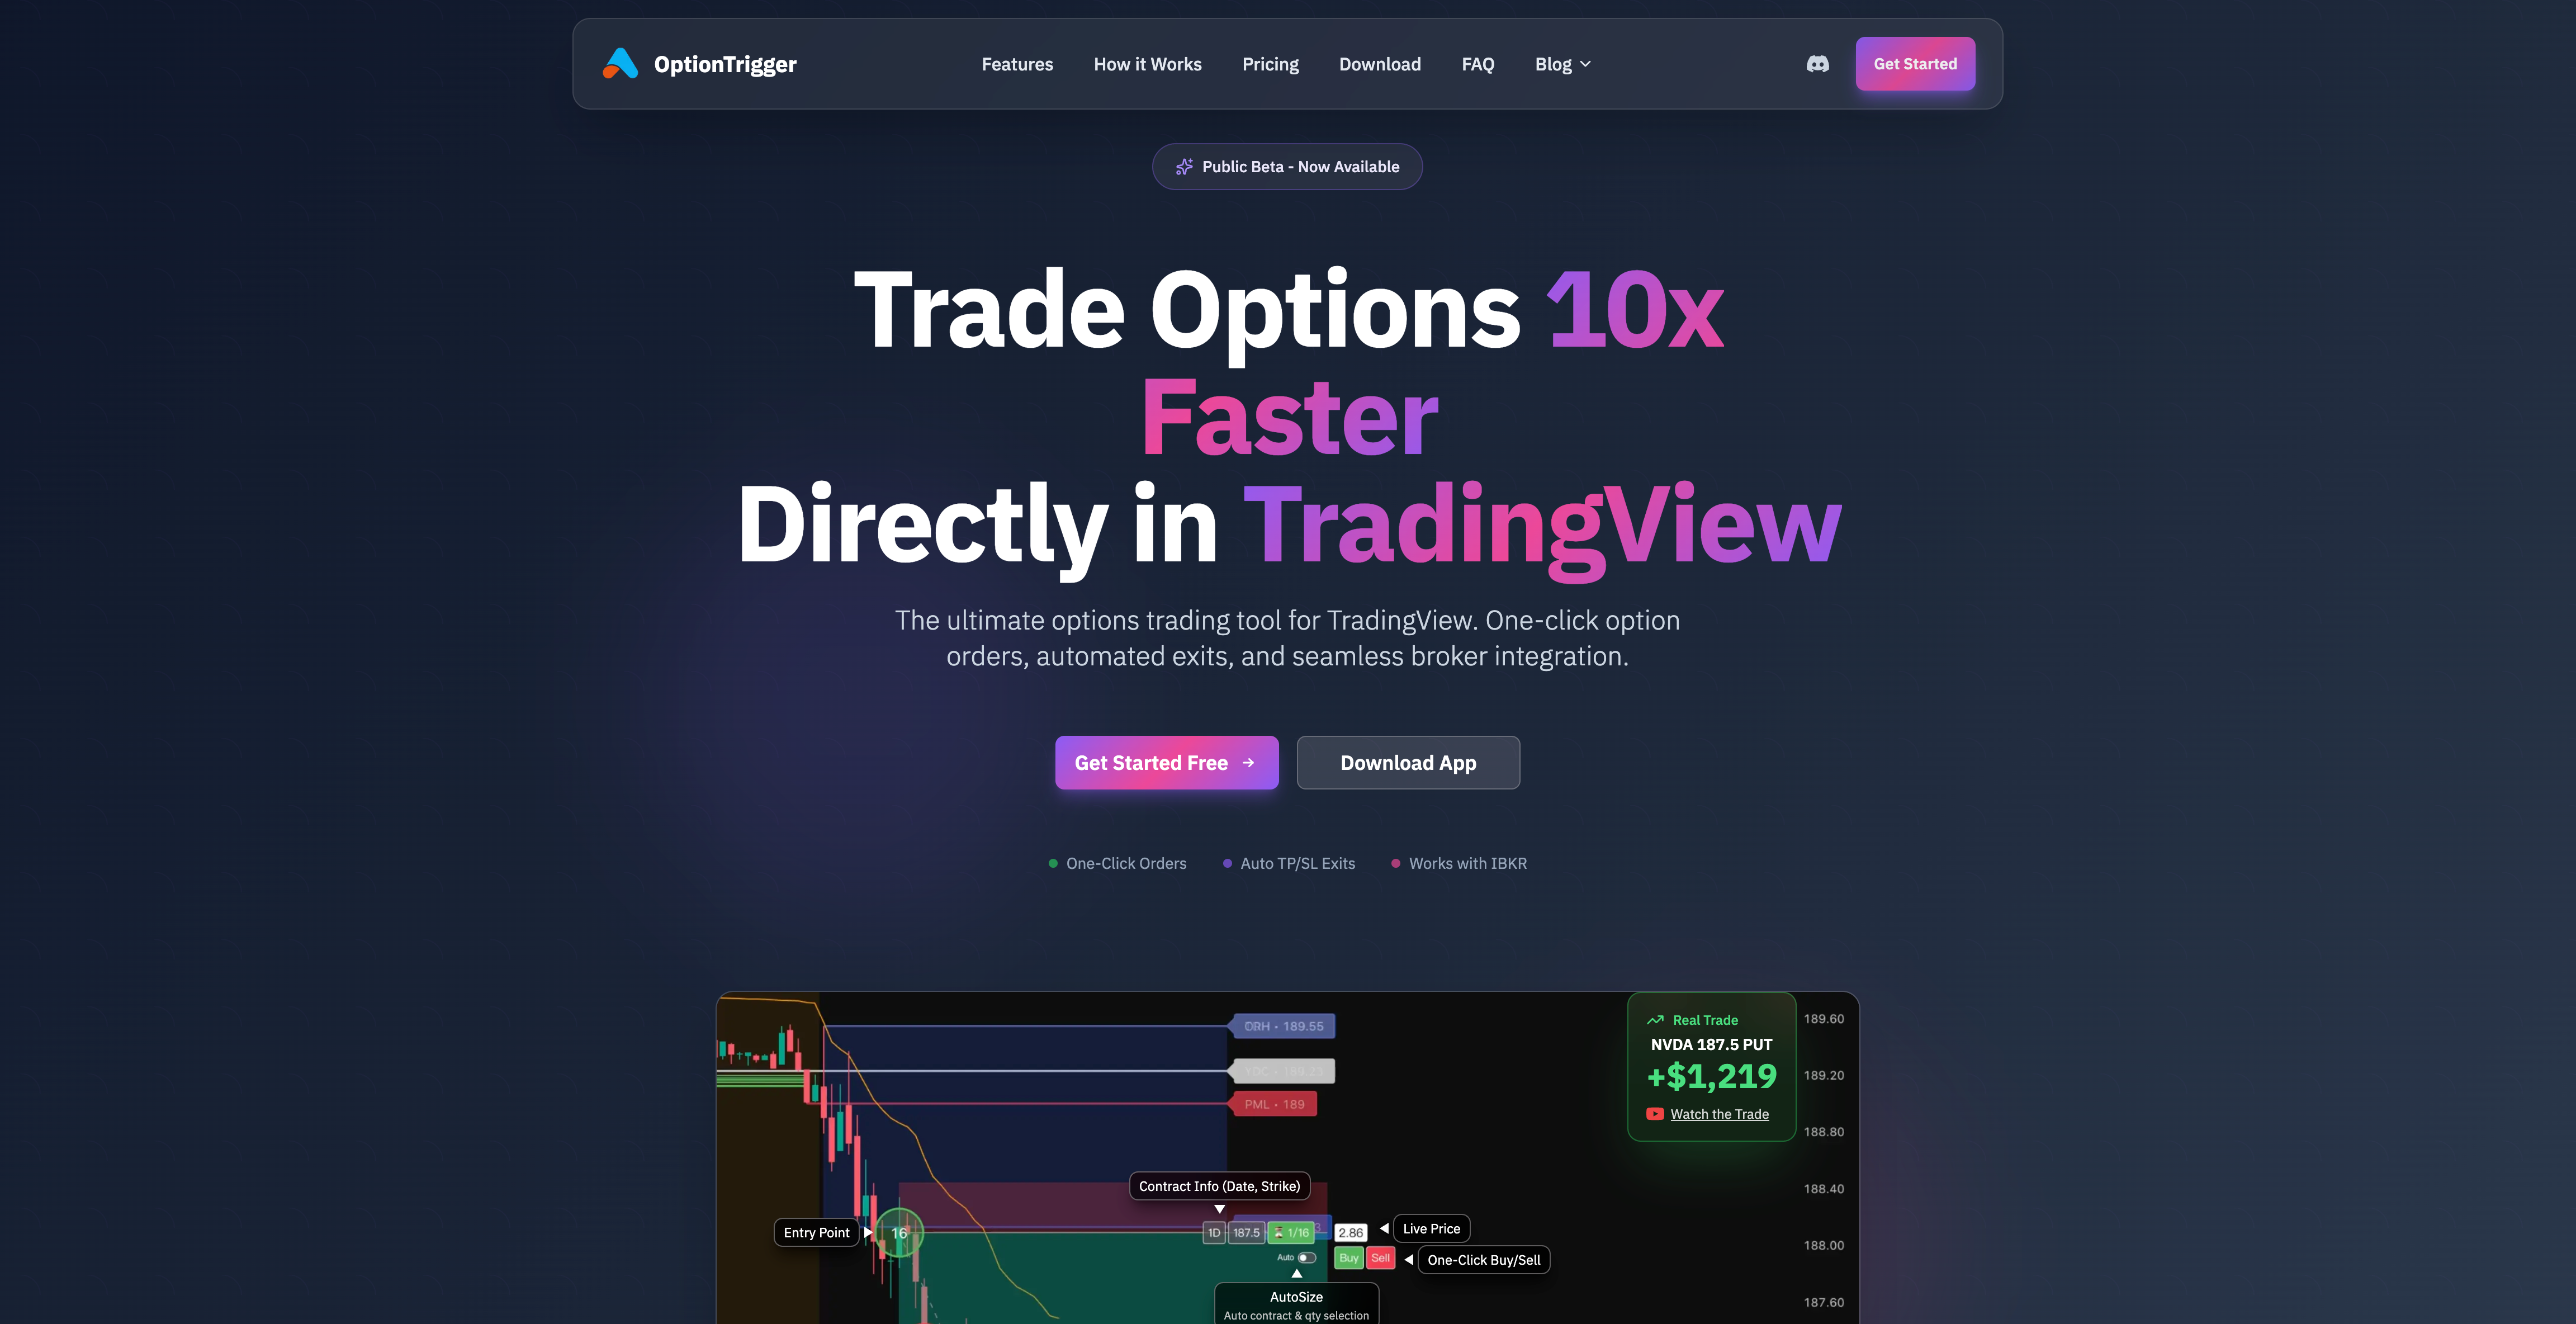
Create Your Account
Enter your email and create a password. You'll receive a confirmation email to verify your account.
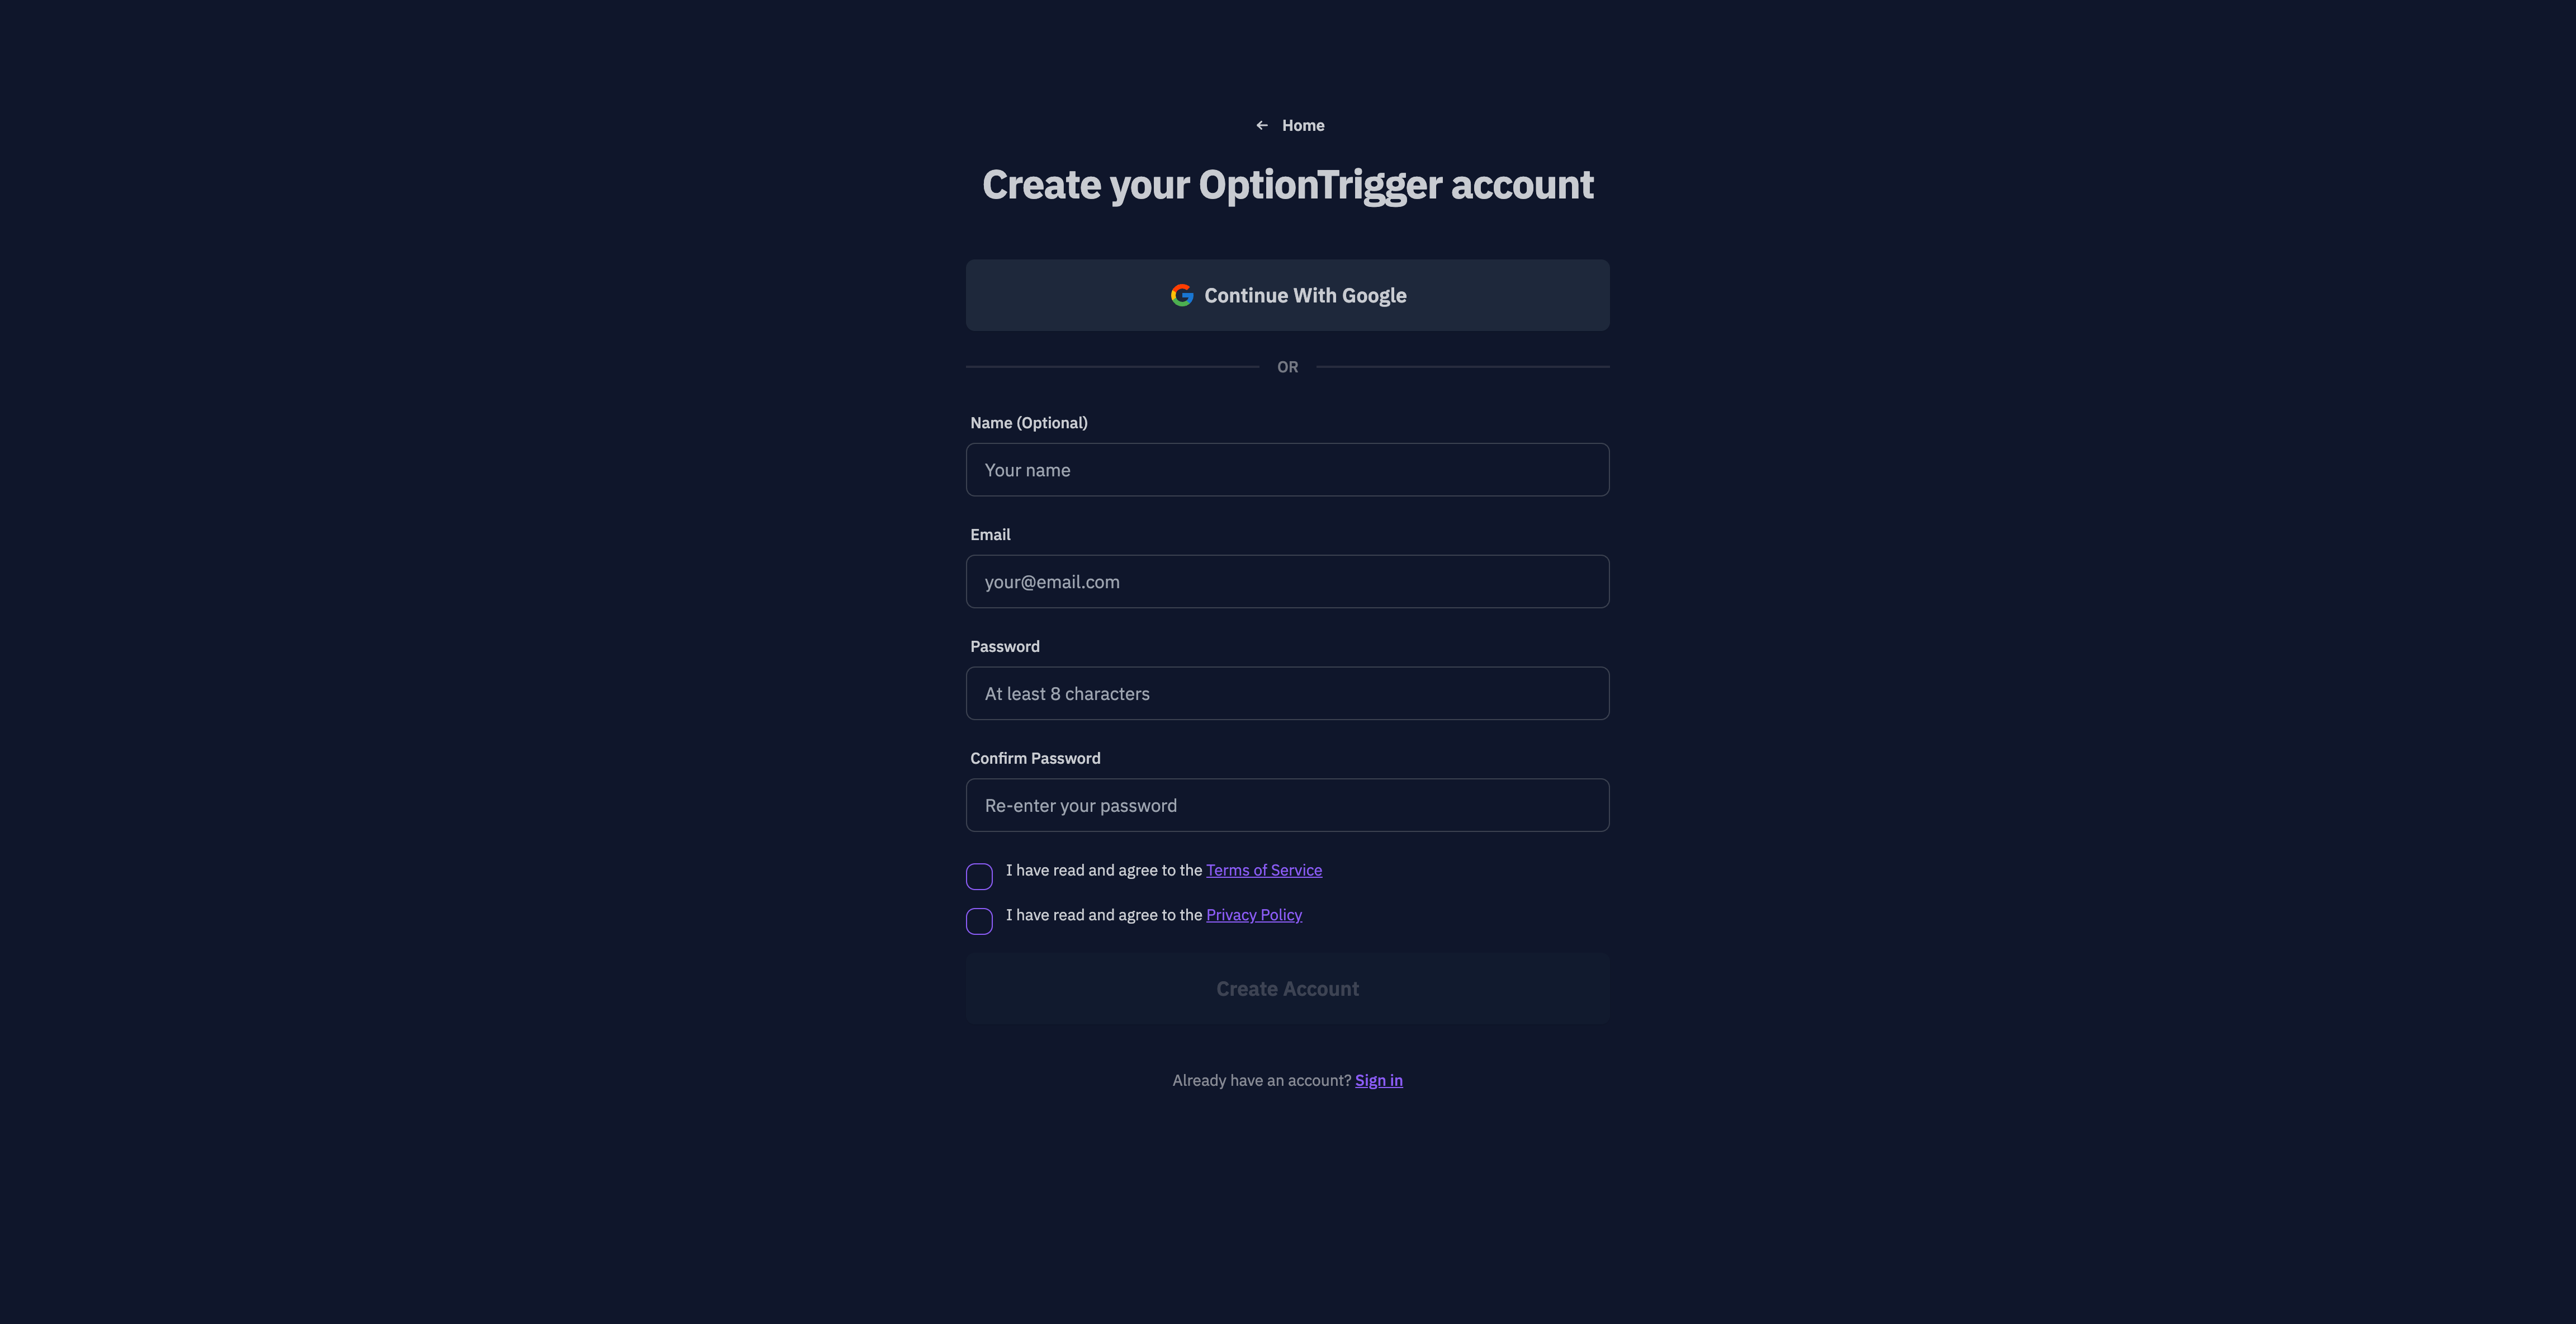
You can start with the Free tier - no credit card required.
Step 2: Download and Install
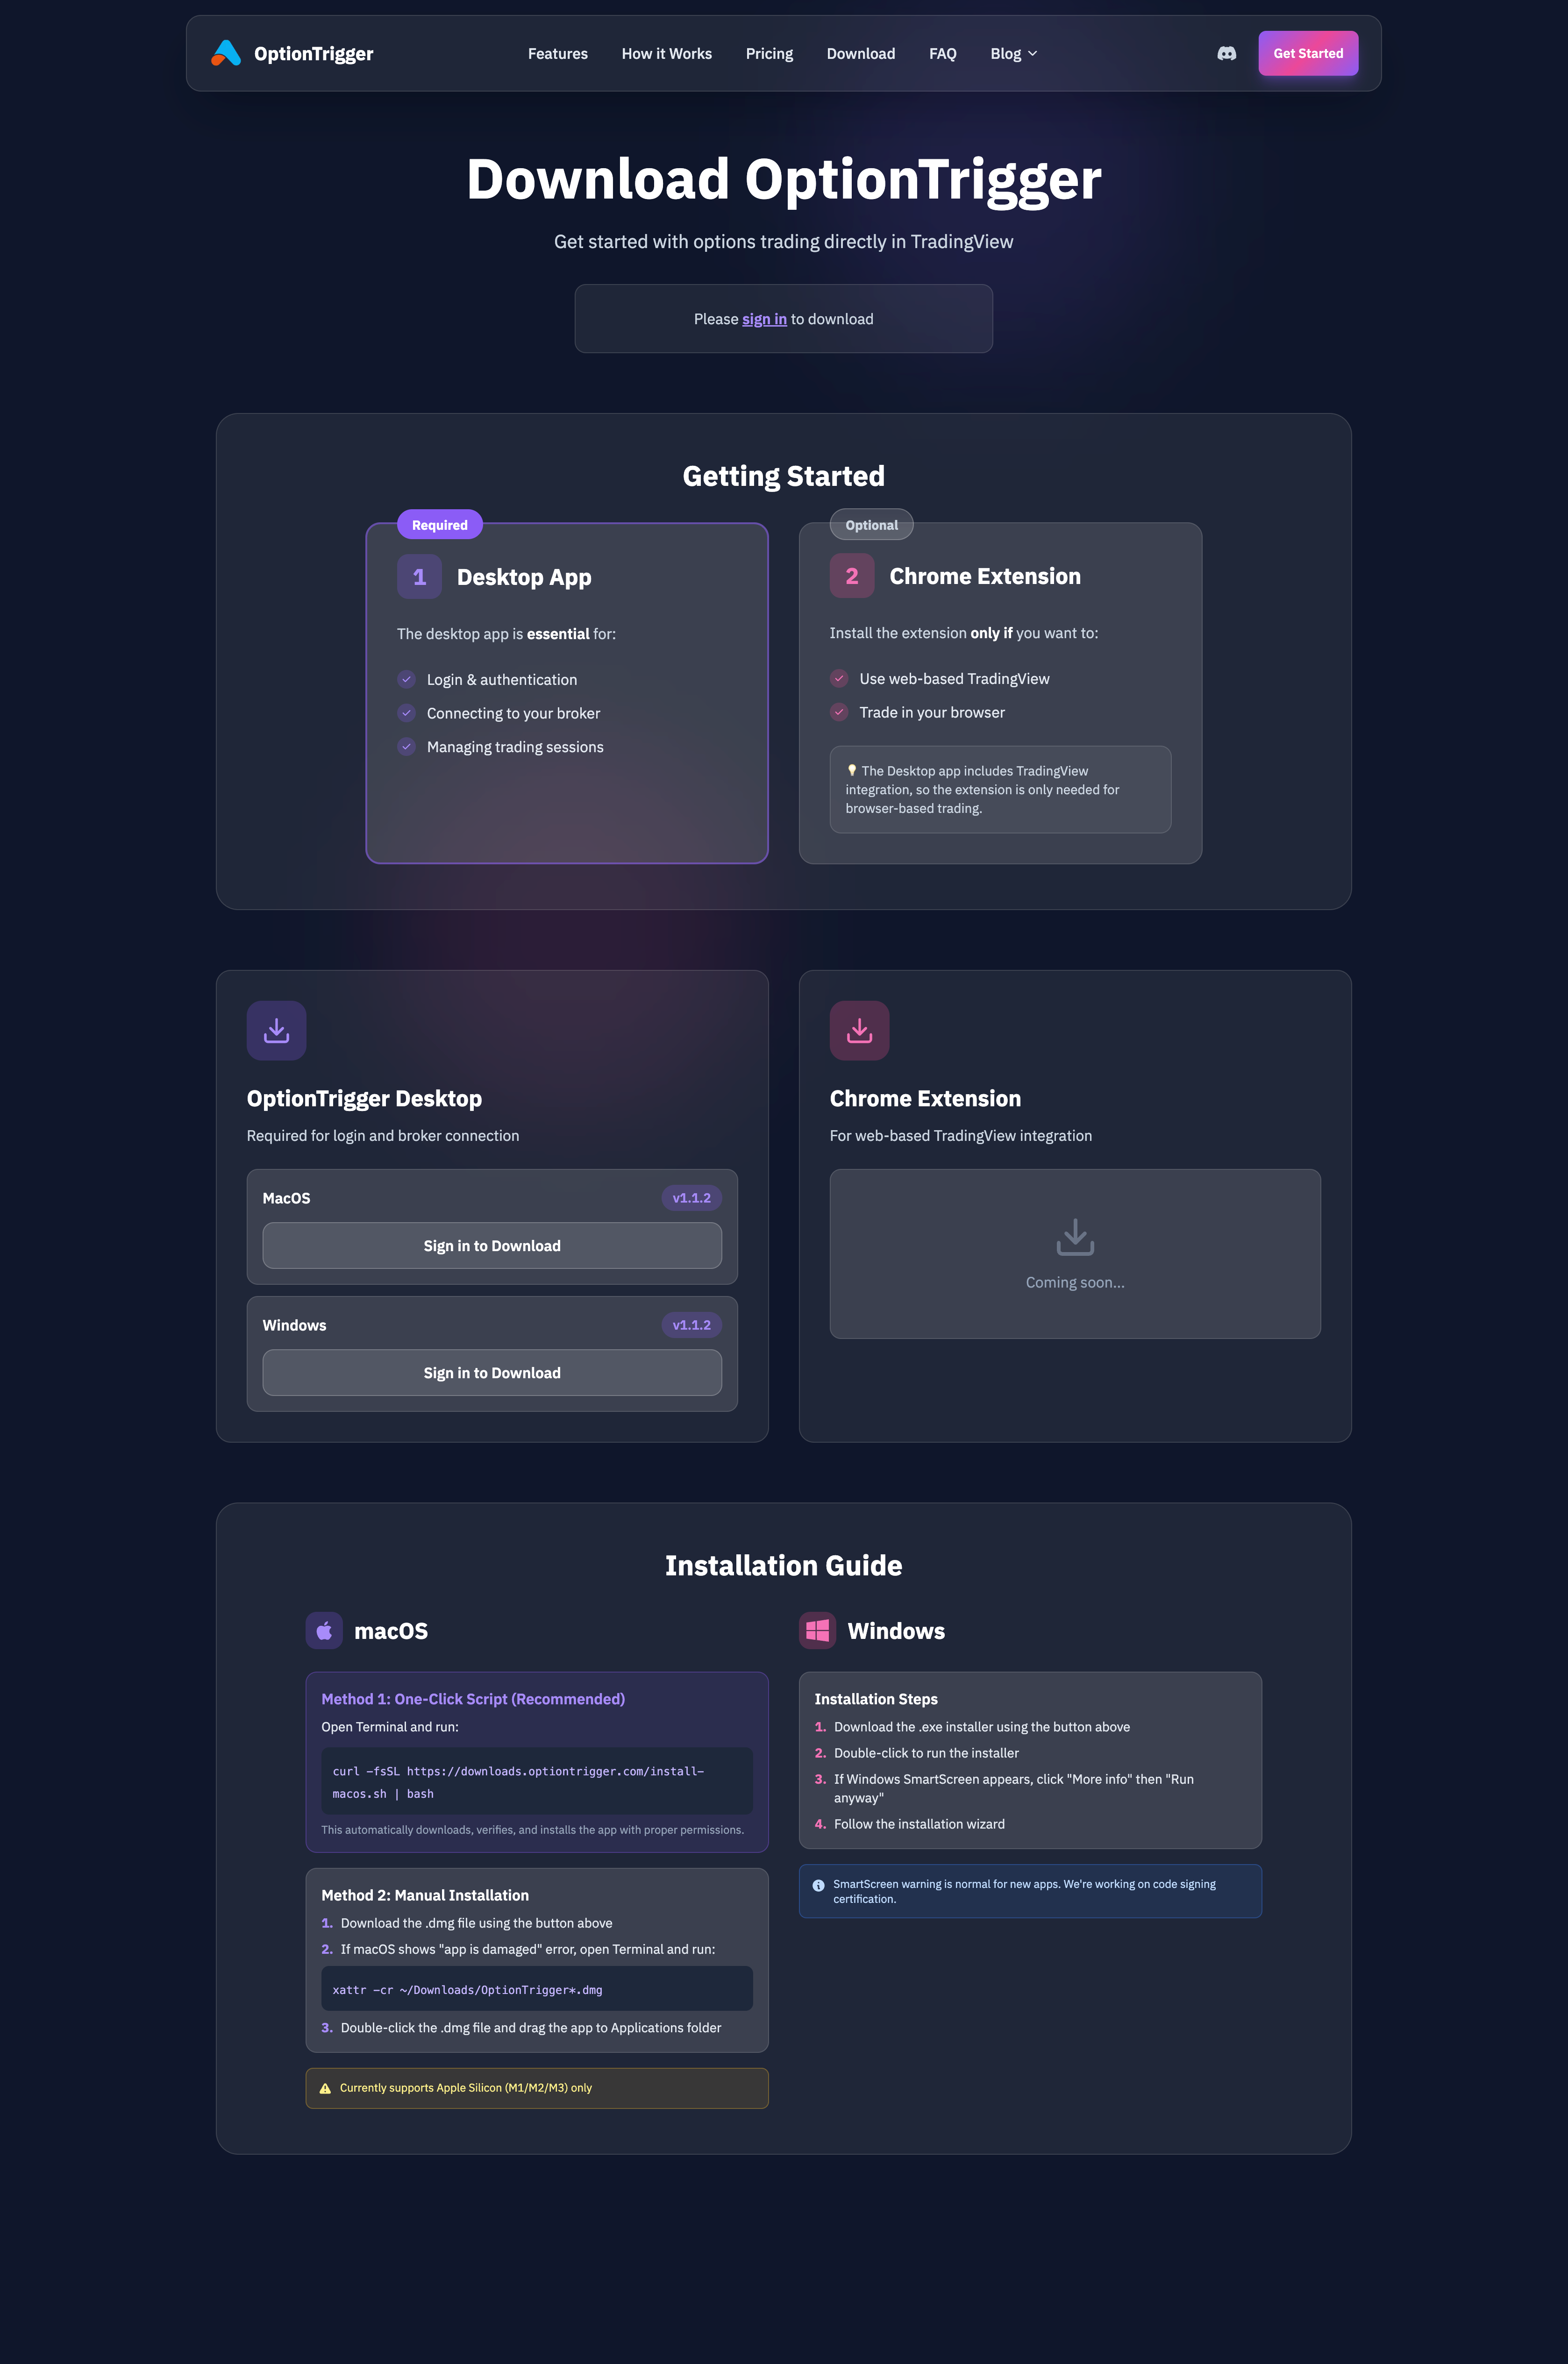
Download OptionTrigger Desktop
Visit the Downloads page and download the installer for your operating system.
Run the Installer
Double-click the downloaded file and follow the installation prompts.
macOS users: You may see a security warning. Go to System Preferences → Security & Privacy and click "Open Anyway".
Install SSL Certificate
On first launch, OptionTrigger will prompt you to install an SSL certificate. Click Install SSL Certificate and enter your system password when prompted.
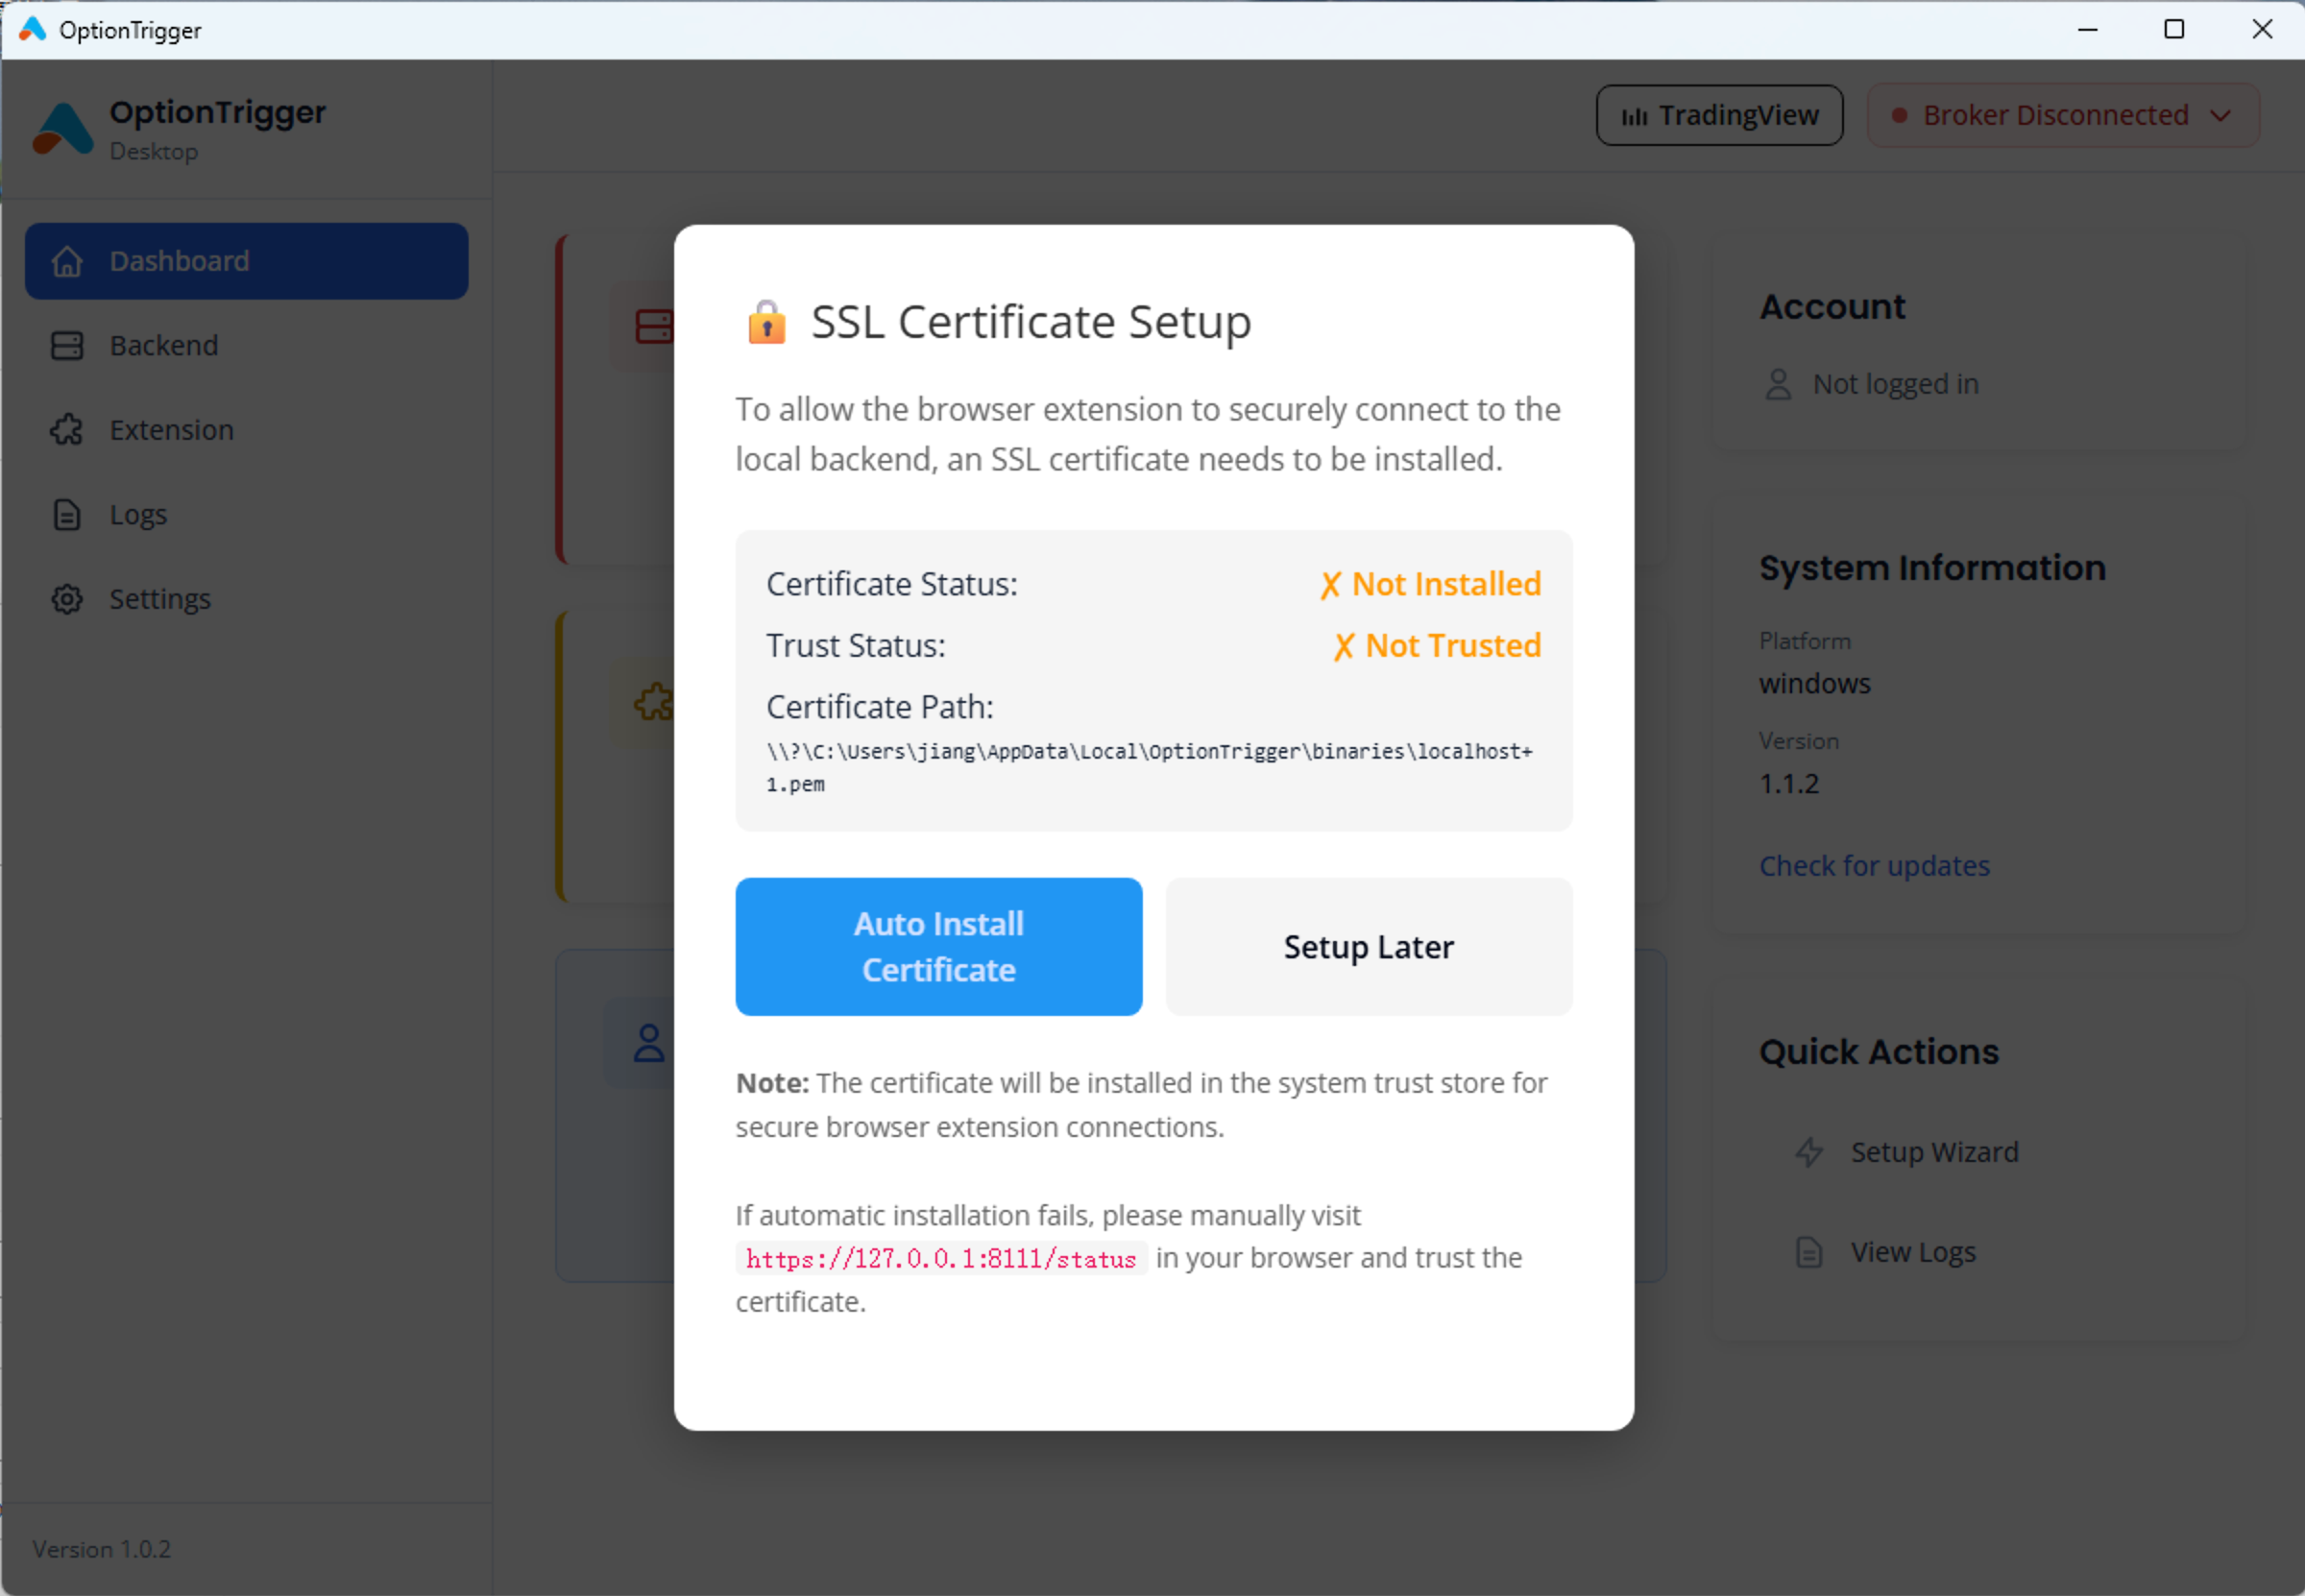
This certificate enables secure communication between the extension and backend.
Step 3: Connect to Your Broker
Start Your Broker Platform
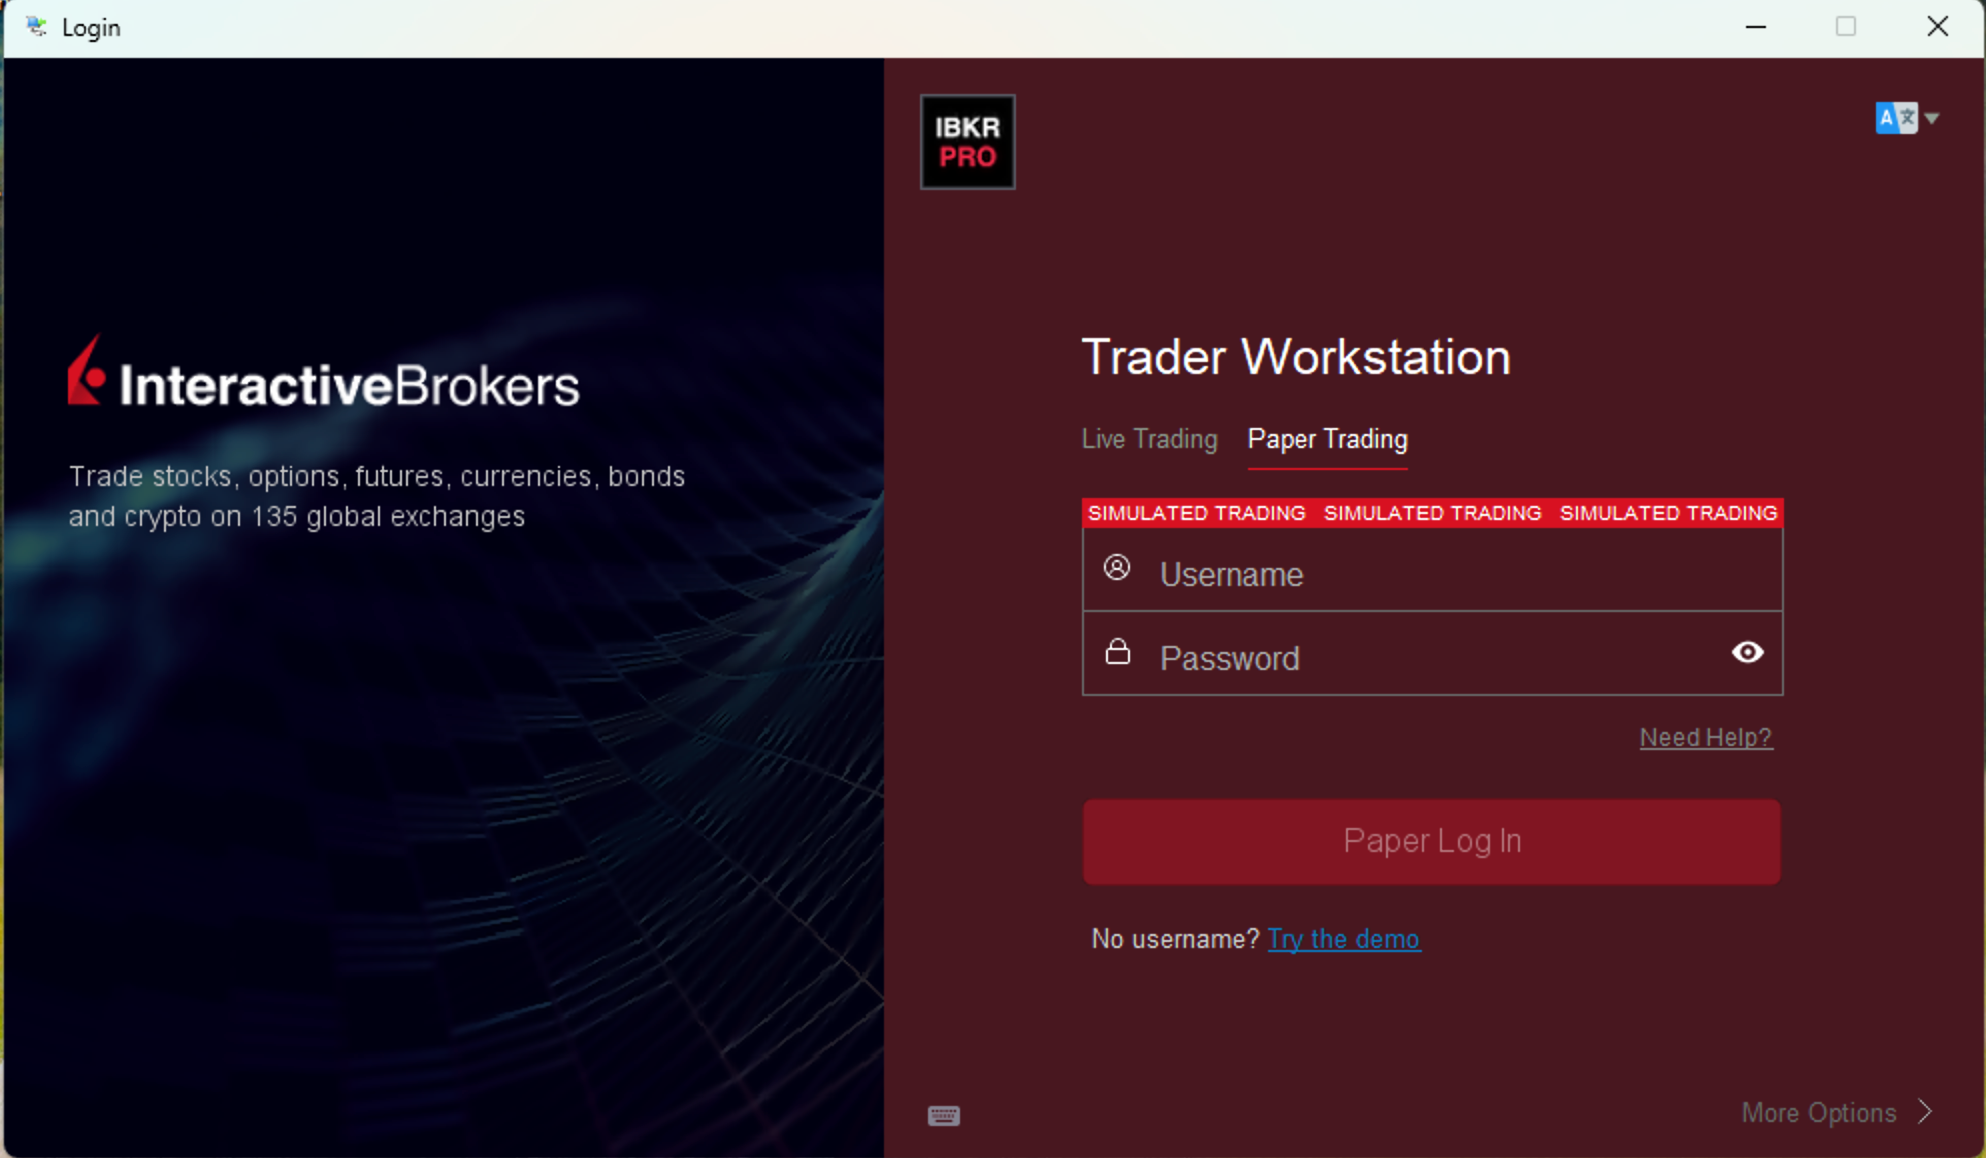
Launch Interactive Brokers TWS (or IB Gateway) and log in to your account.
Moomoo: Integration is in development — use IBKR for OptionTrigger today.
Enable API Access in TWS
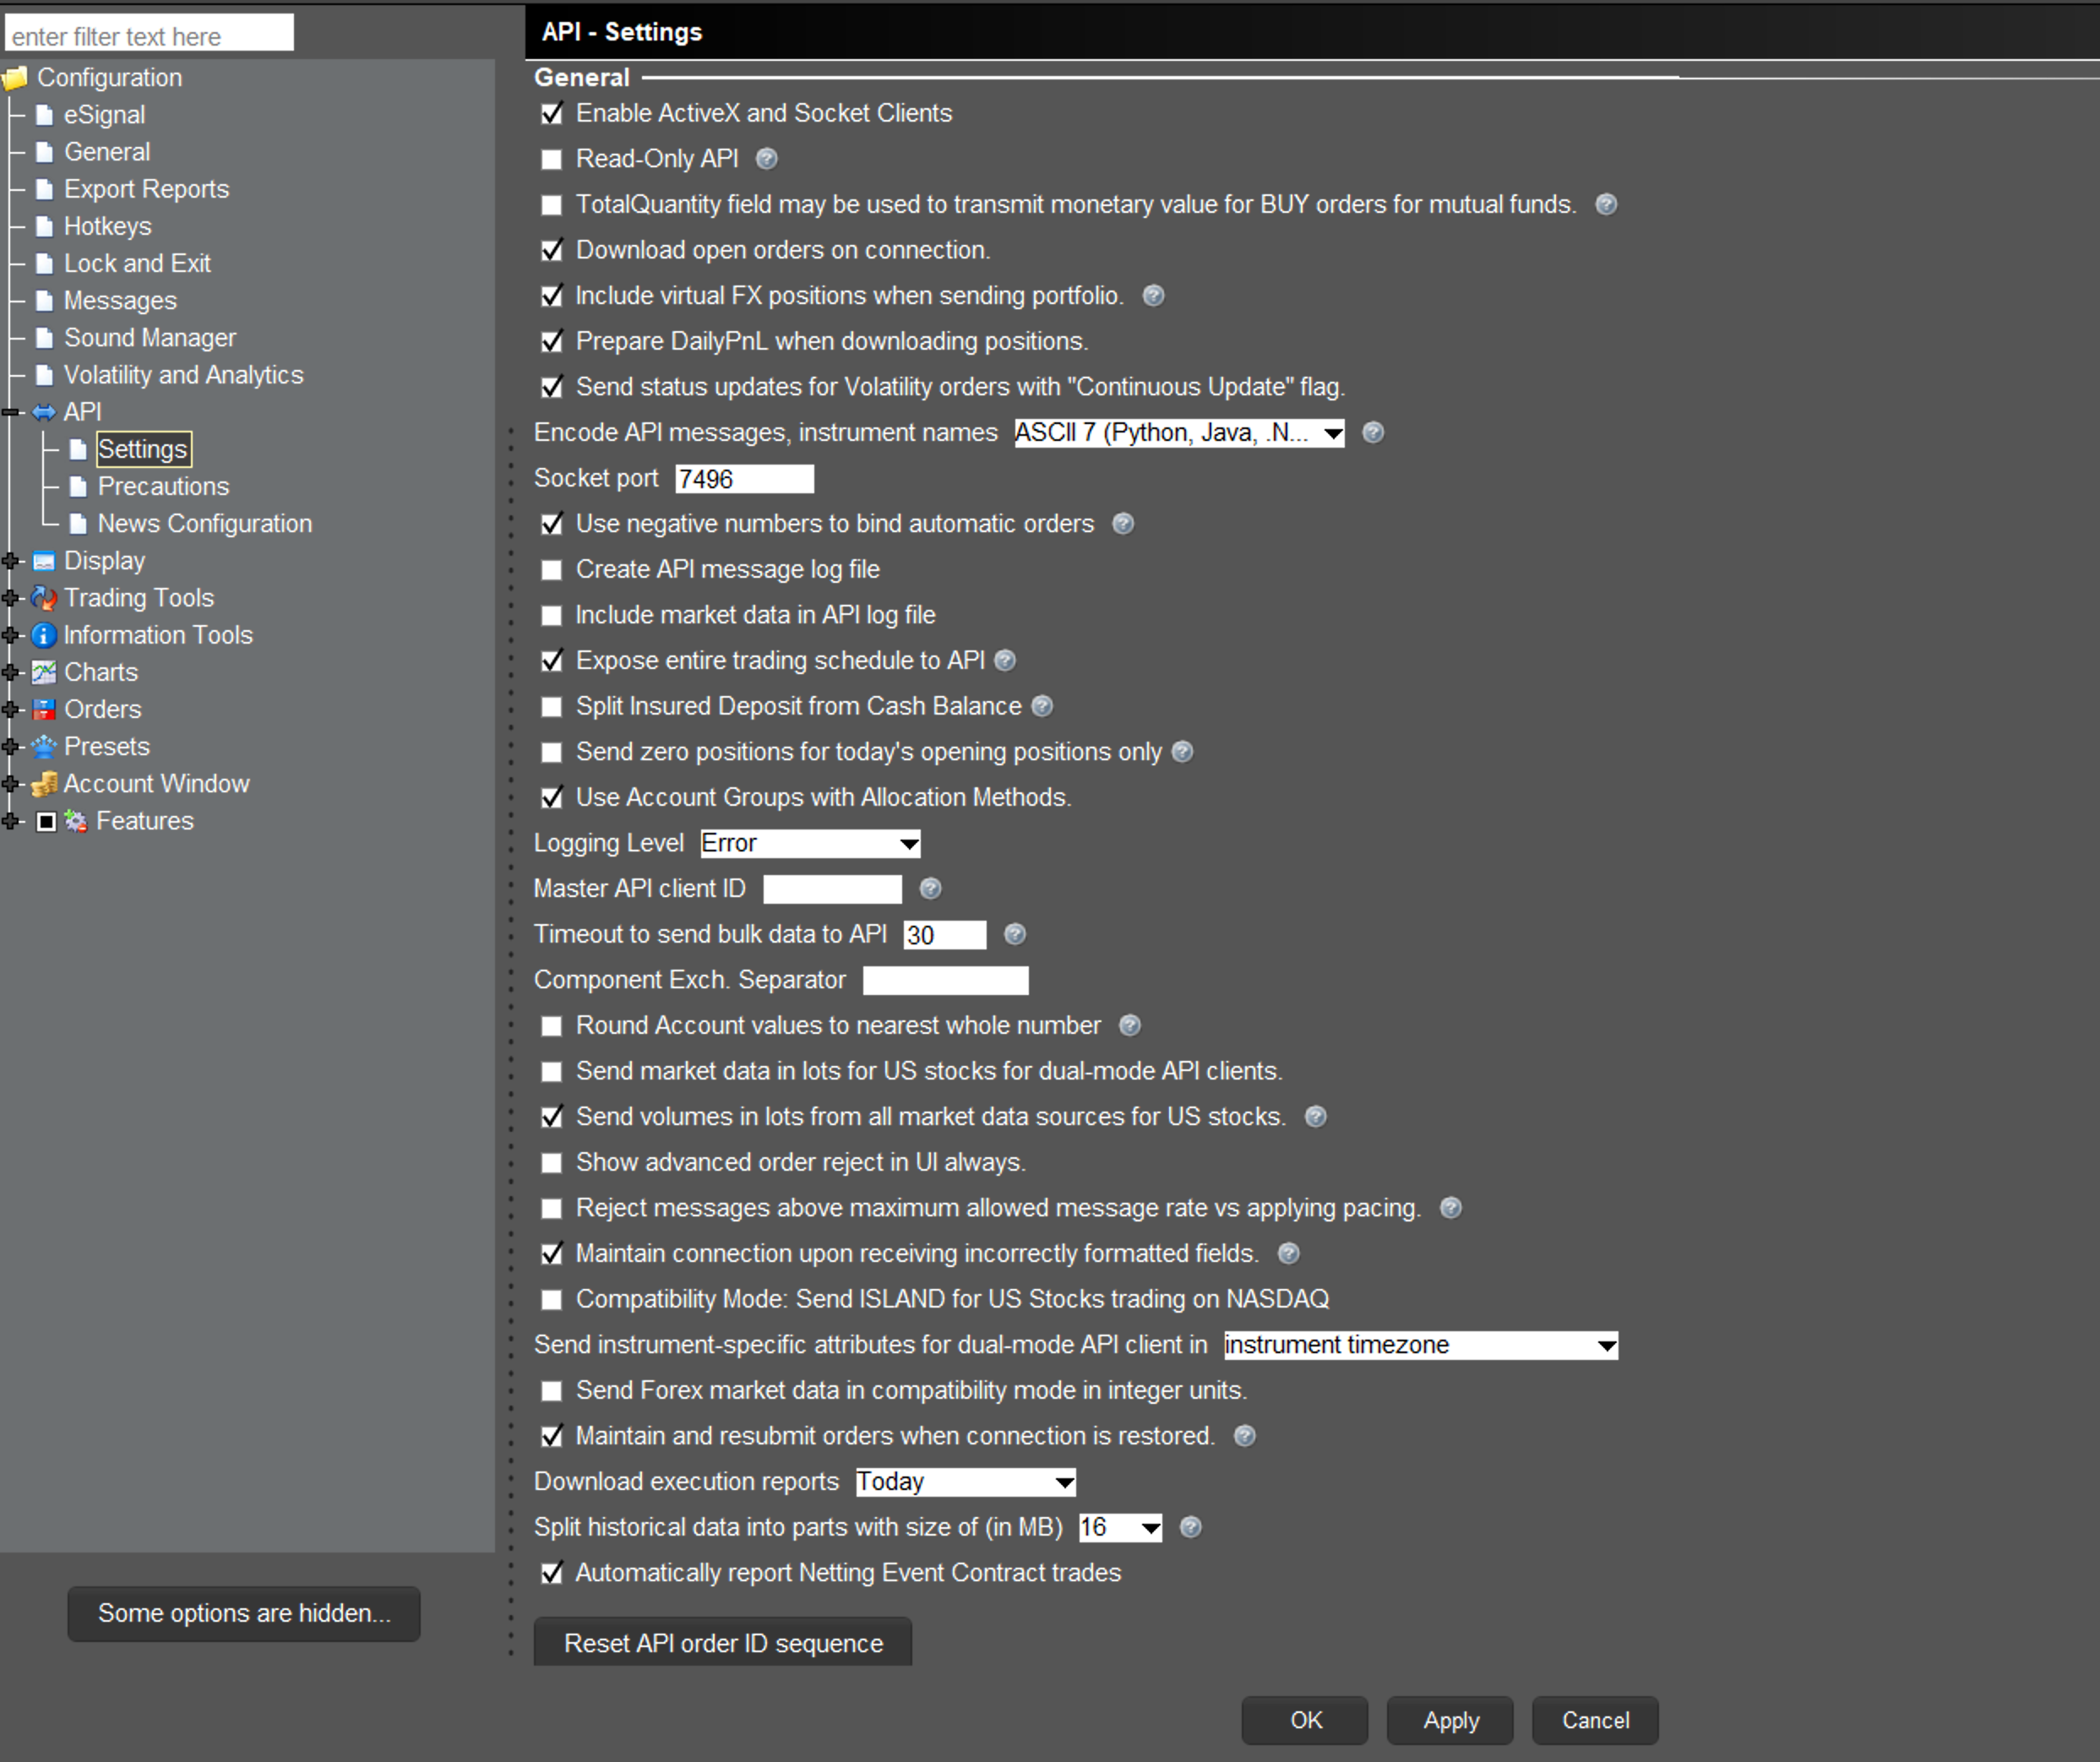
In TWS, go to File → Global Configuration → API → Settings and:
- Check Enable ActiveX and Socket Clients
- Set Socket port to
7496 - Click OK
Start Backend in OptionTrigger
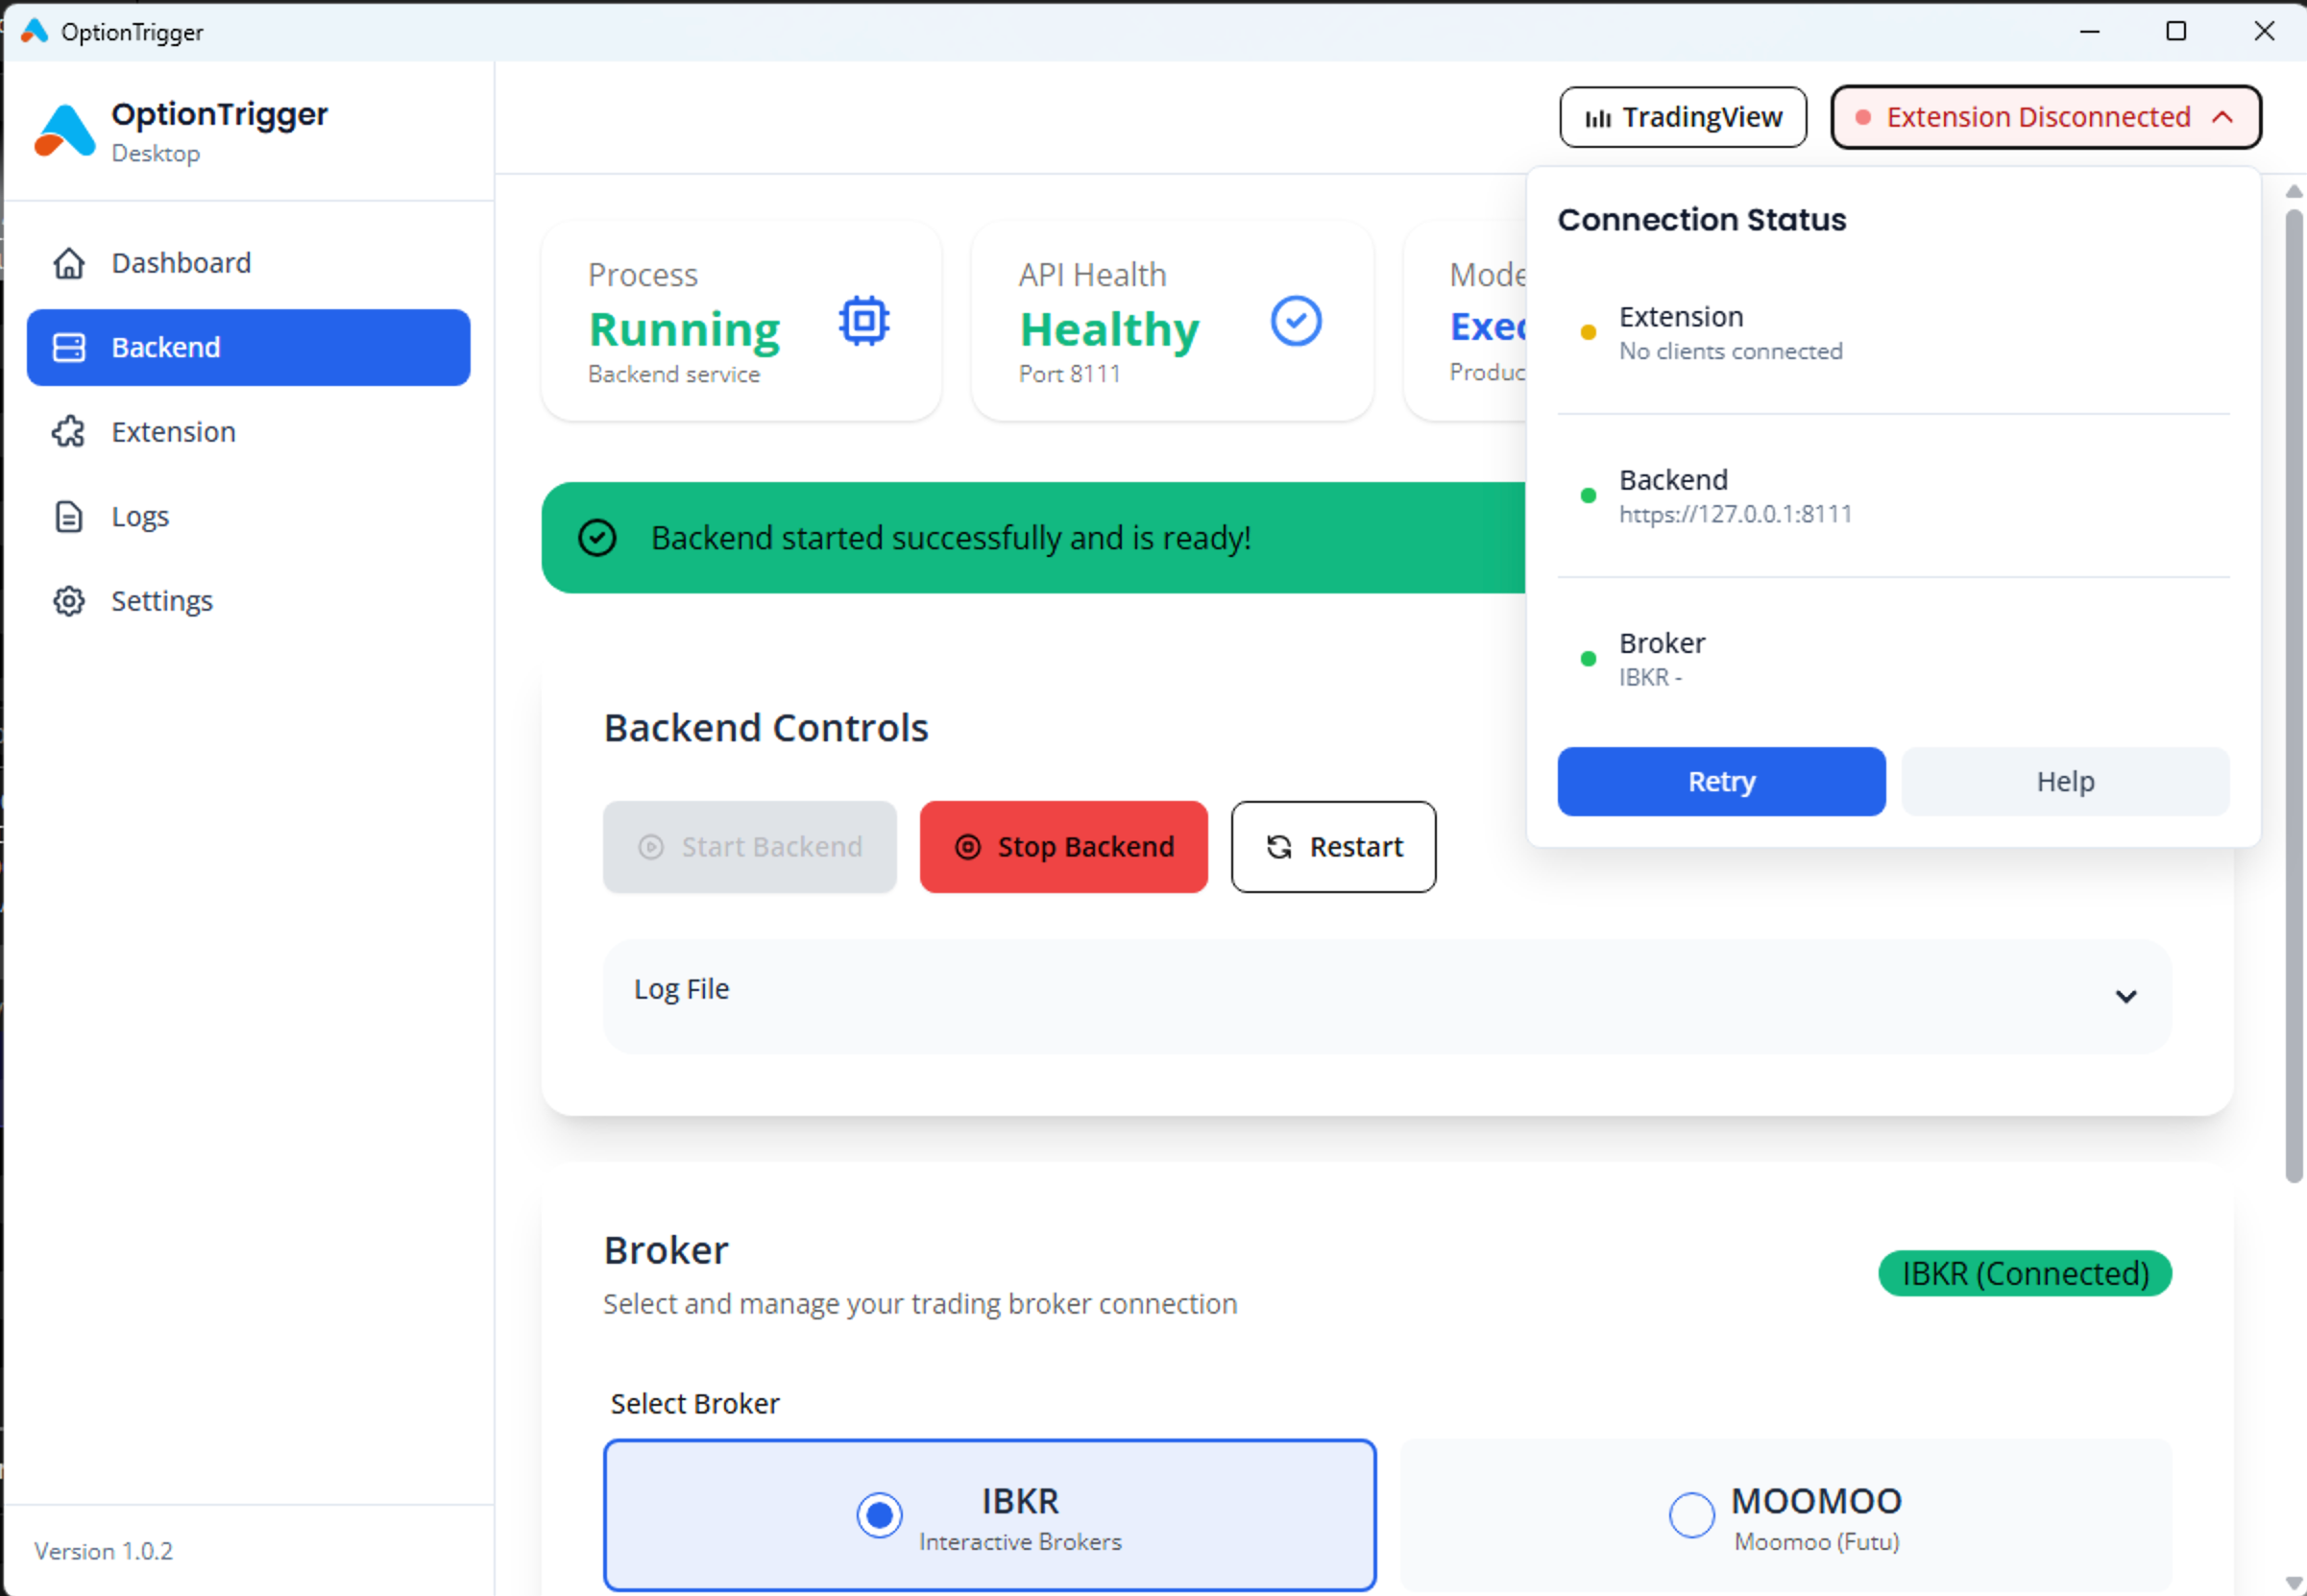
In OptionTrigger Desktop, click Start Backend. You should see the connection status turn green.
Step 4: Create Your First Trade Plan
Launch TradingView with OptionTrigger
Click Inject Extension to TradingView Desktop in OptionTrigger Desktop, then use the TradingView with OptionTrigger shortcut to launch TradingView.
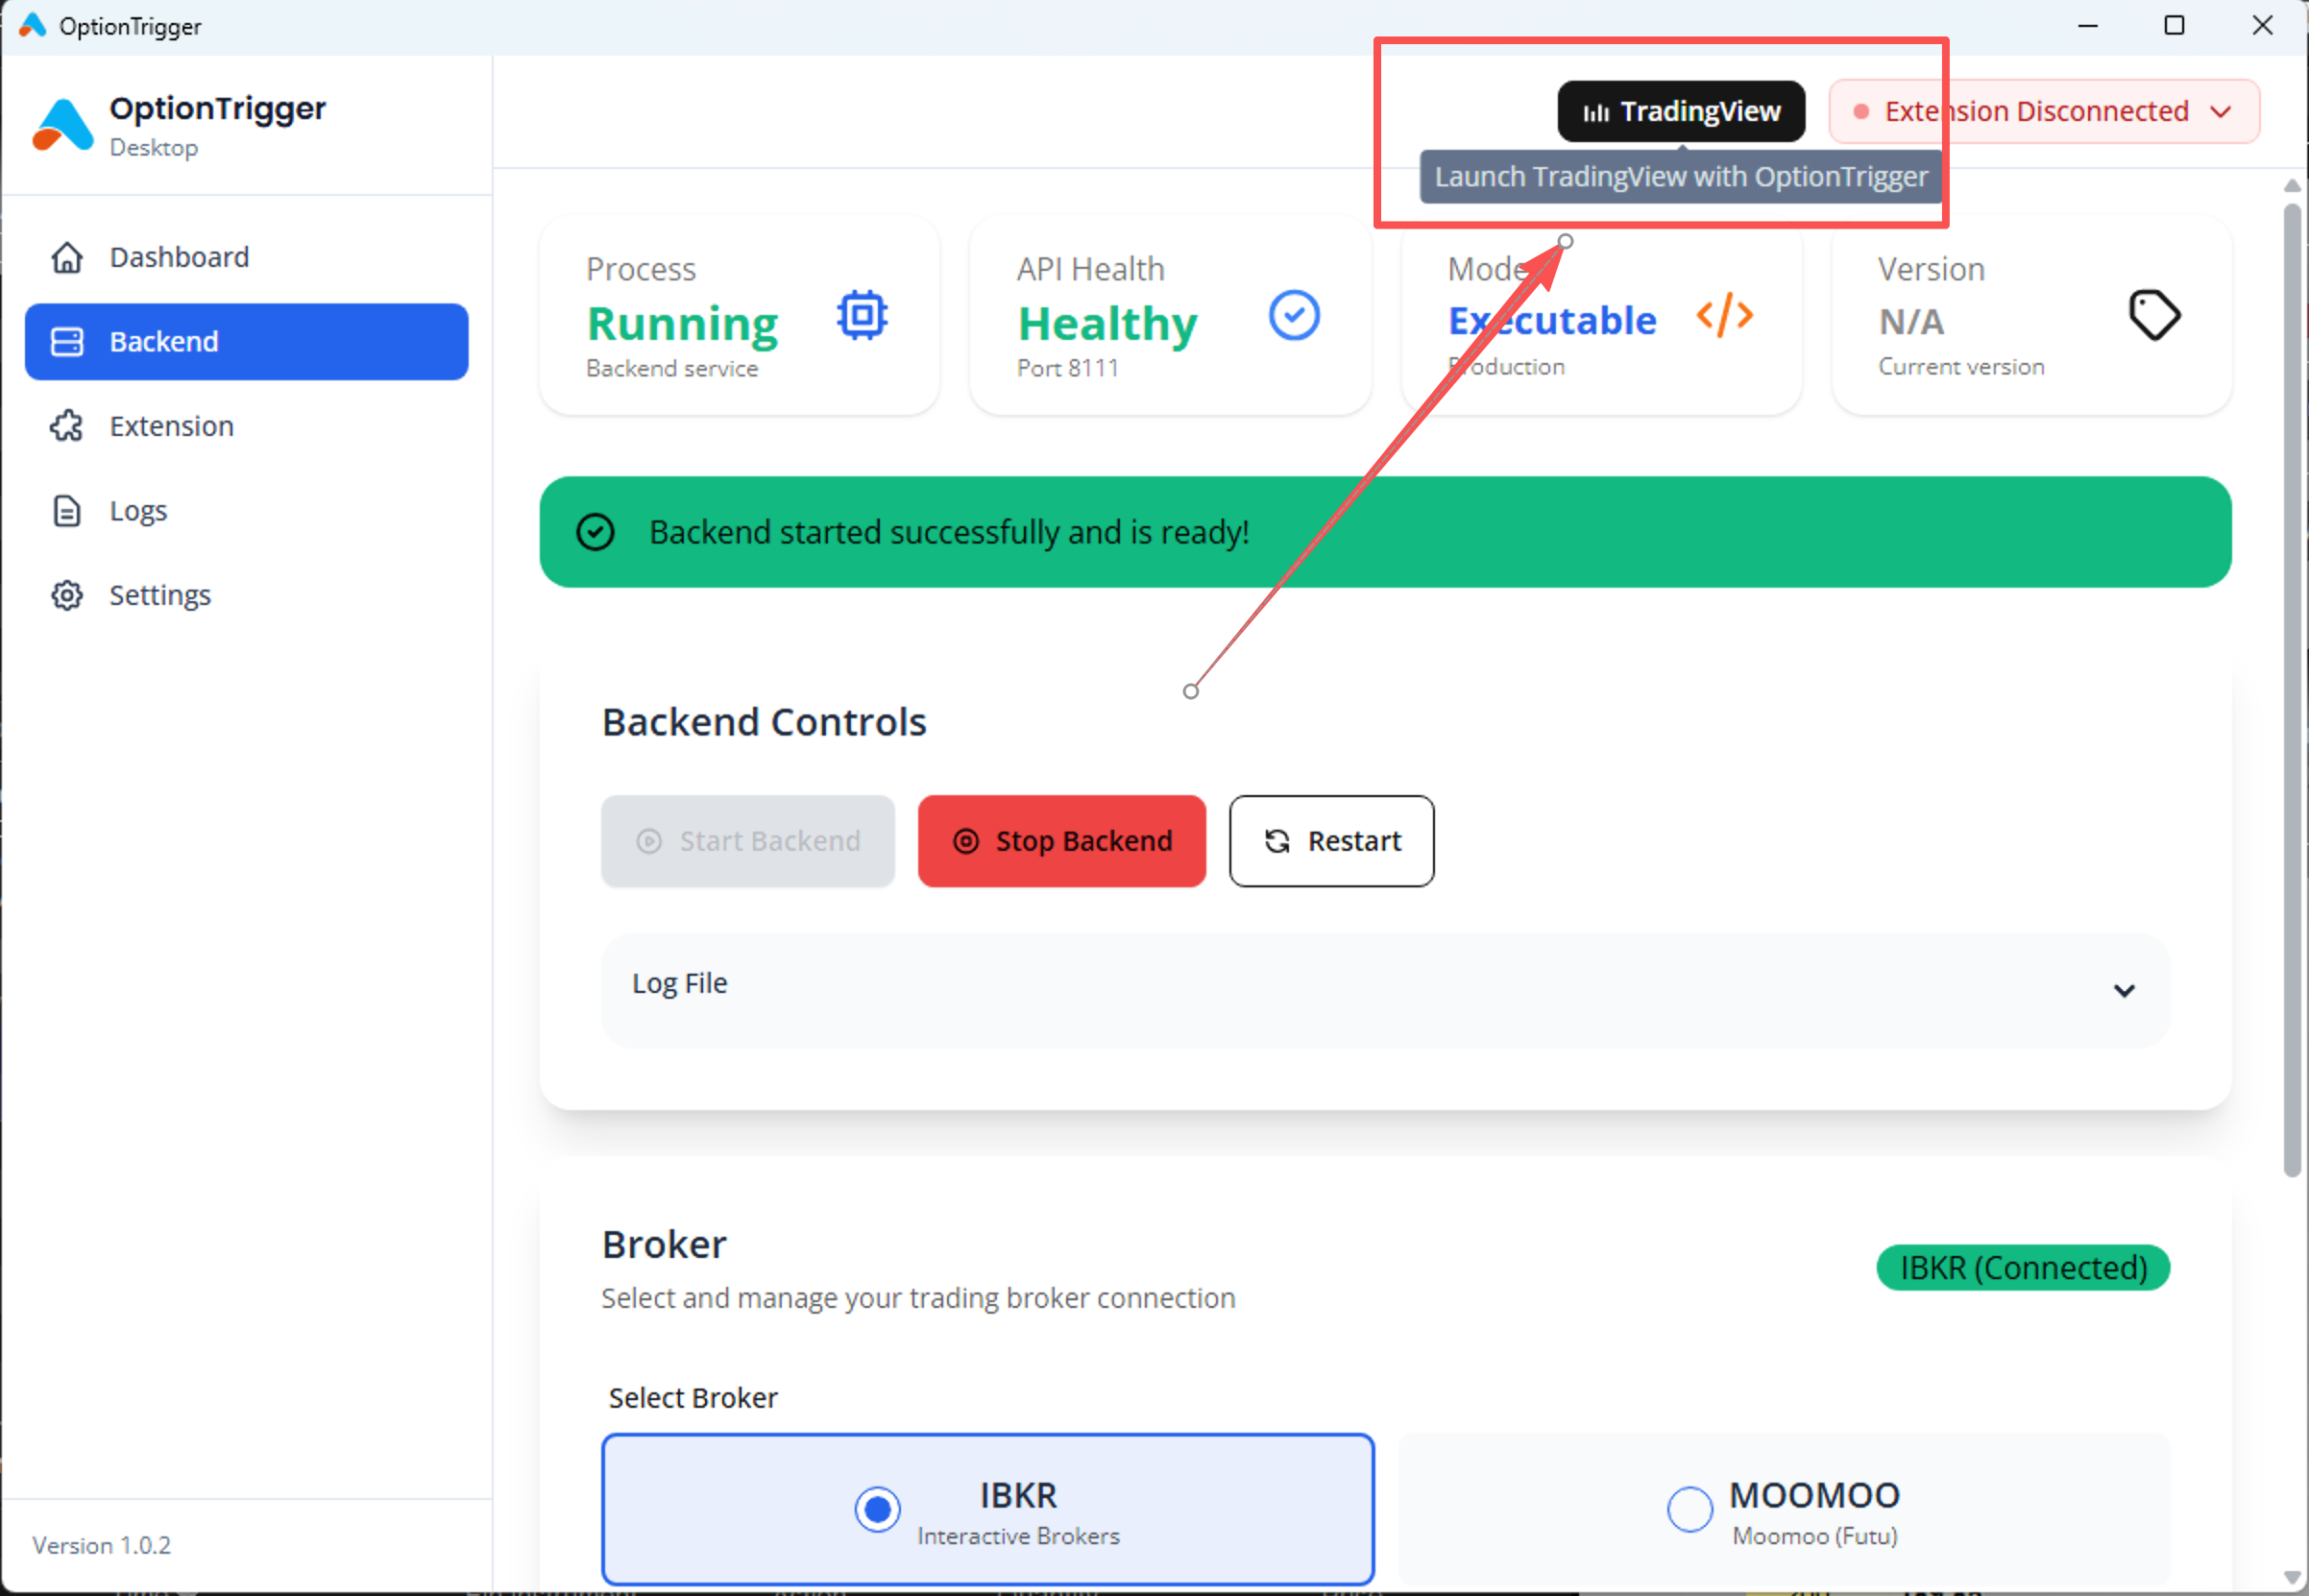
Supported path: TradingView Desktop with extension injected by OptionTrigger Desktop. We do not publish to the Chrome Web Store; browser-only TradingView is not the default setup.
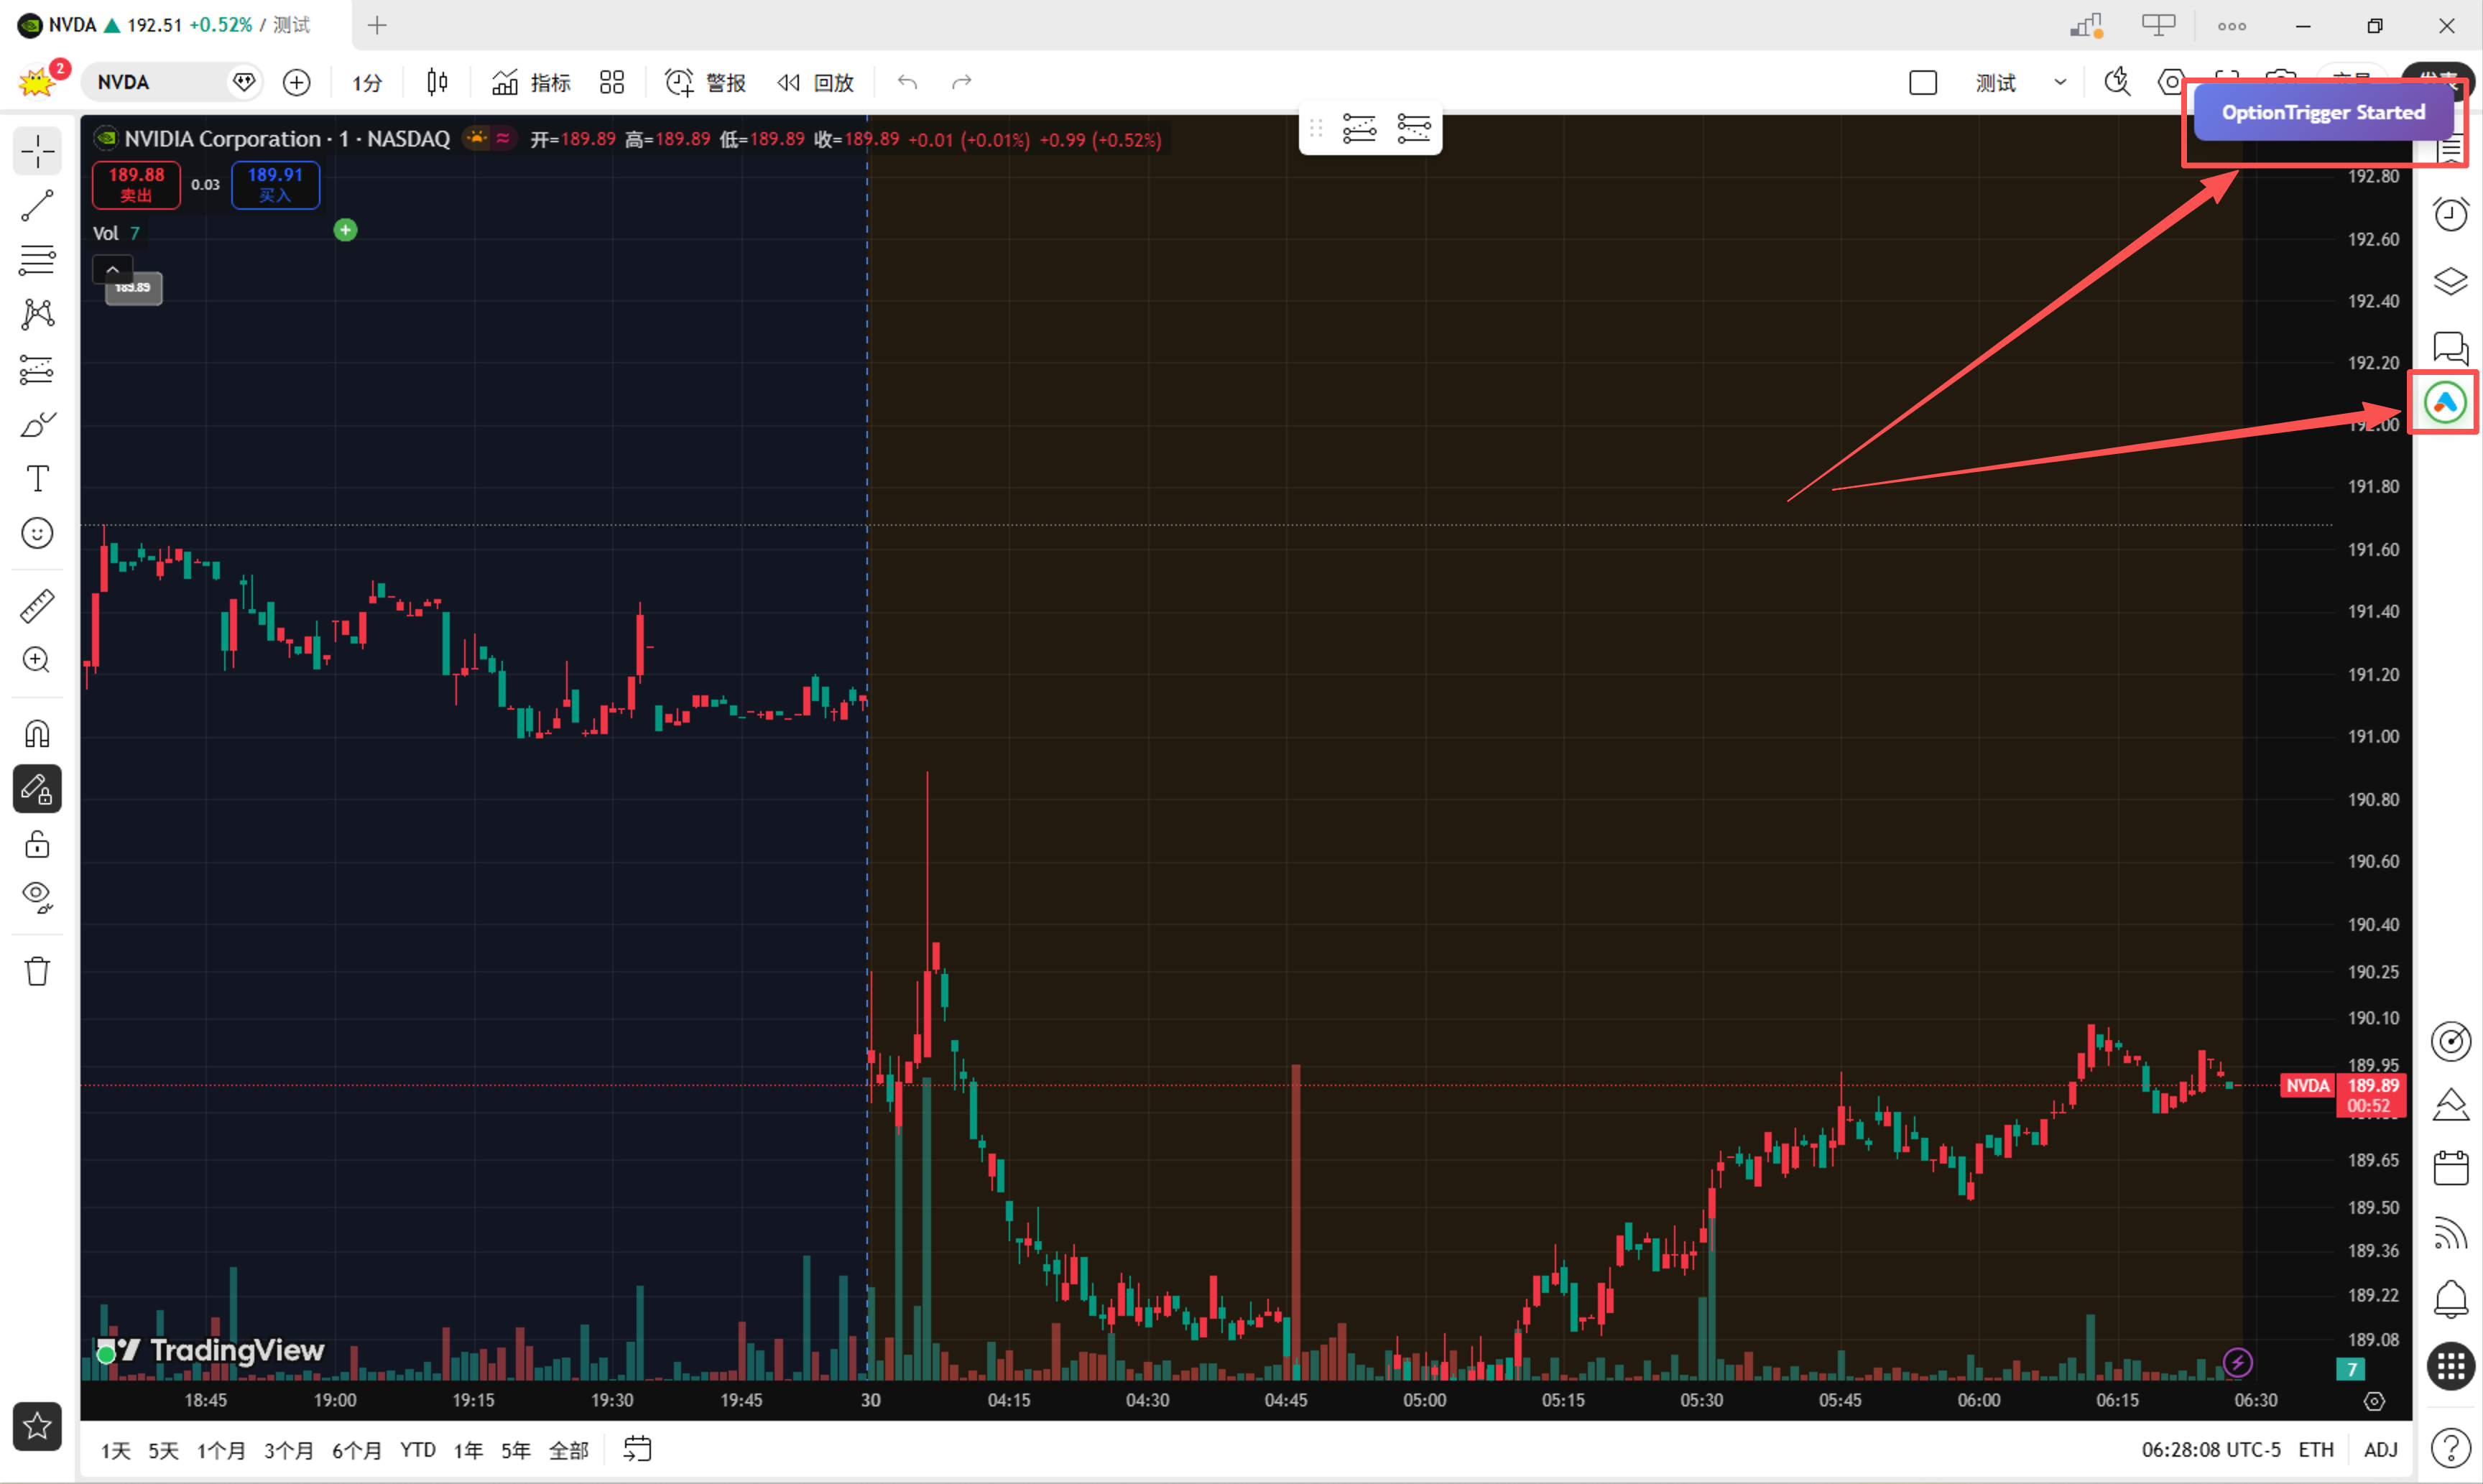
Verify Extension is Loaded
Look for the OptionTrigger Settings button (gear icon) in the top-right corner of your chart. A green border indicates successful connection.
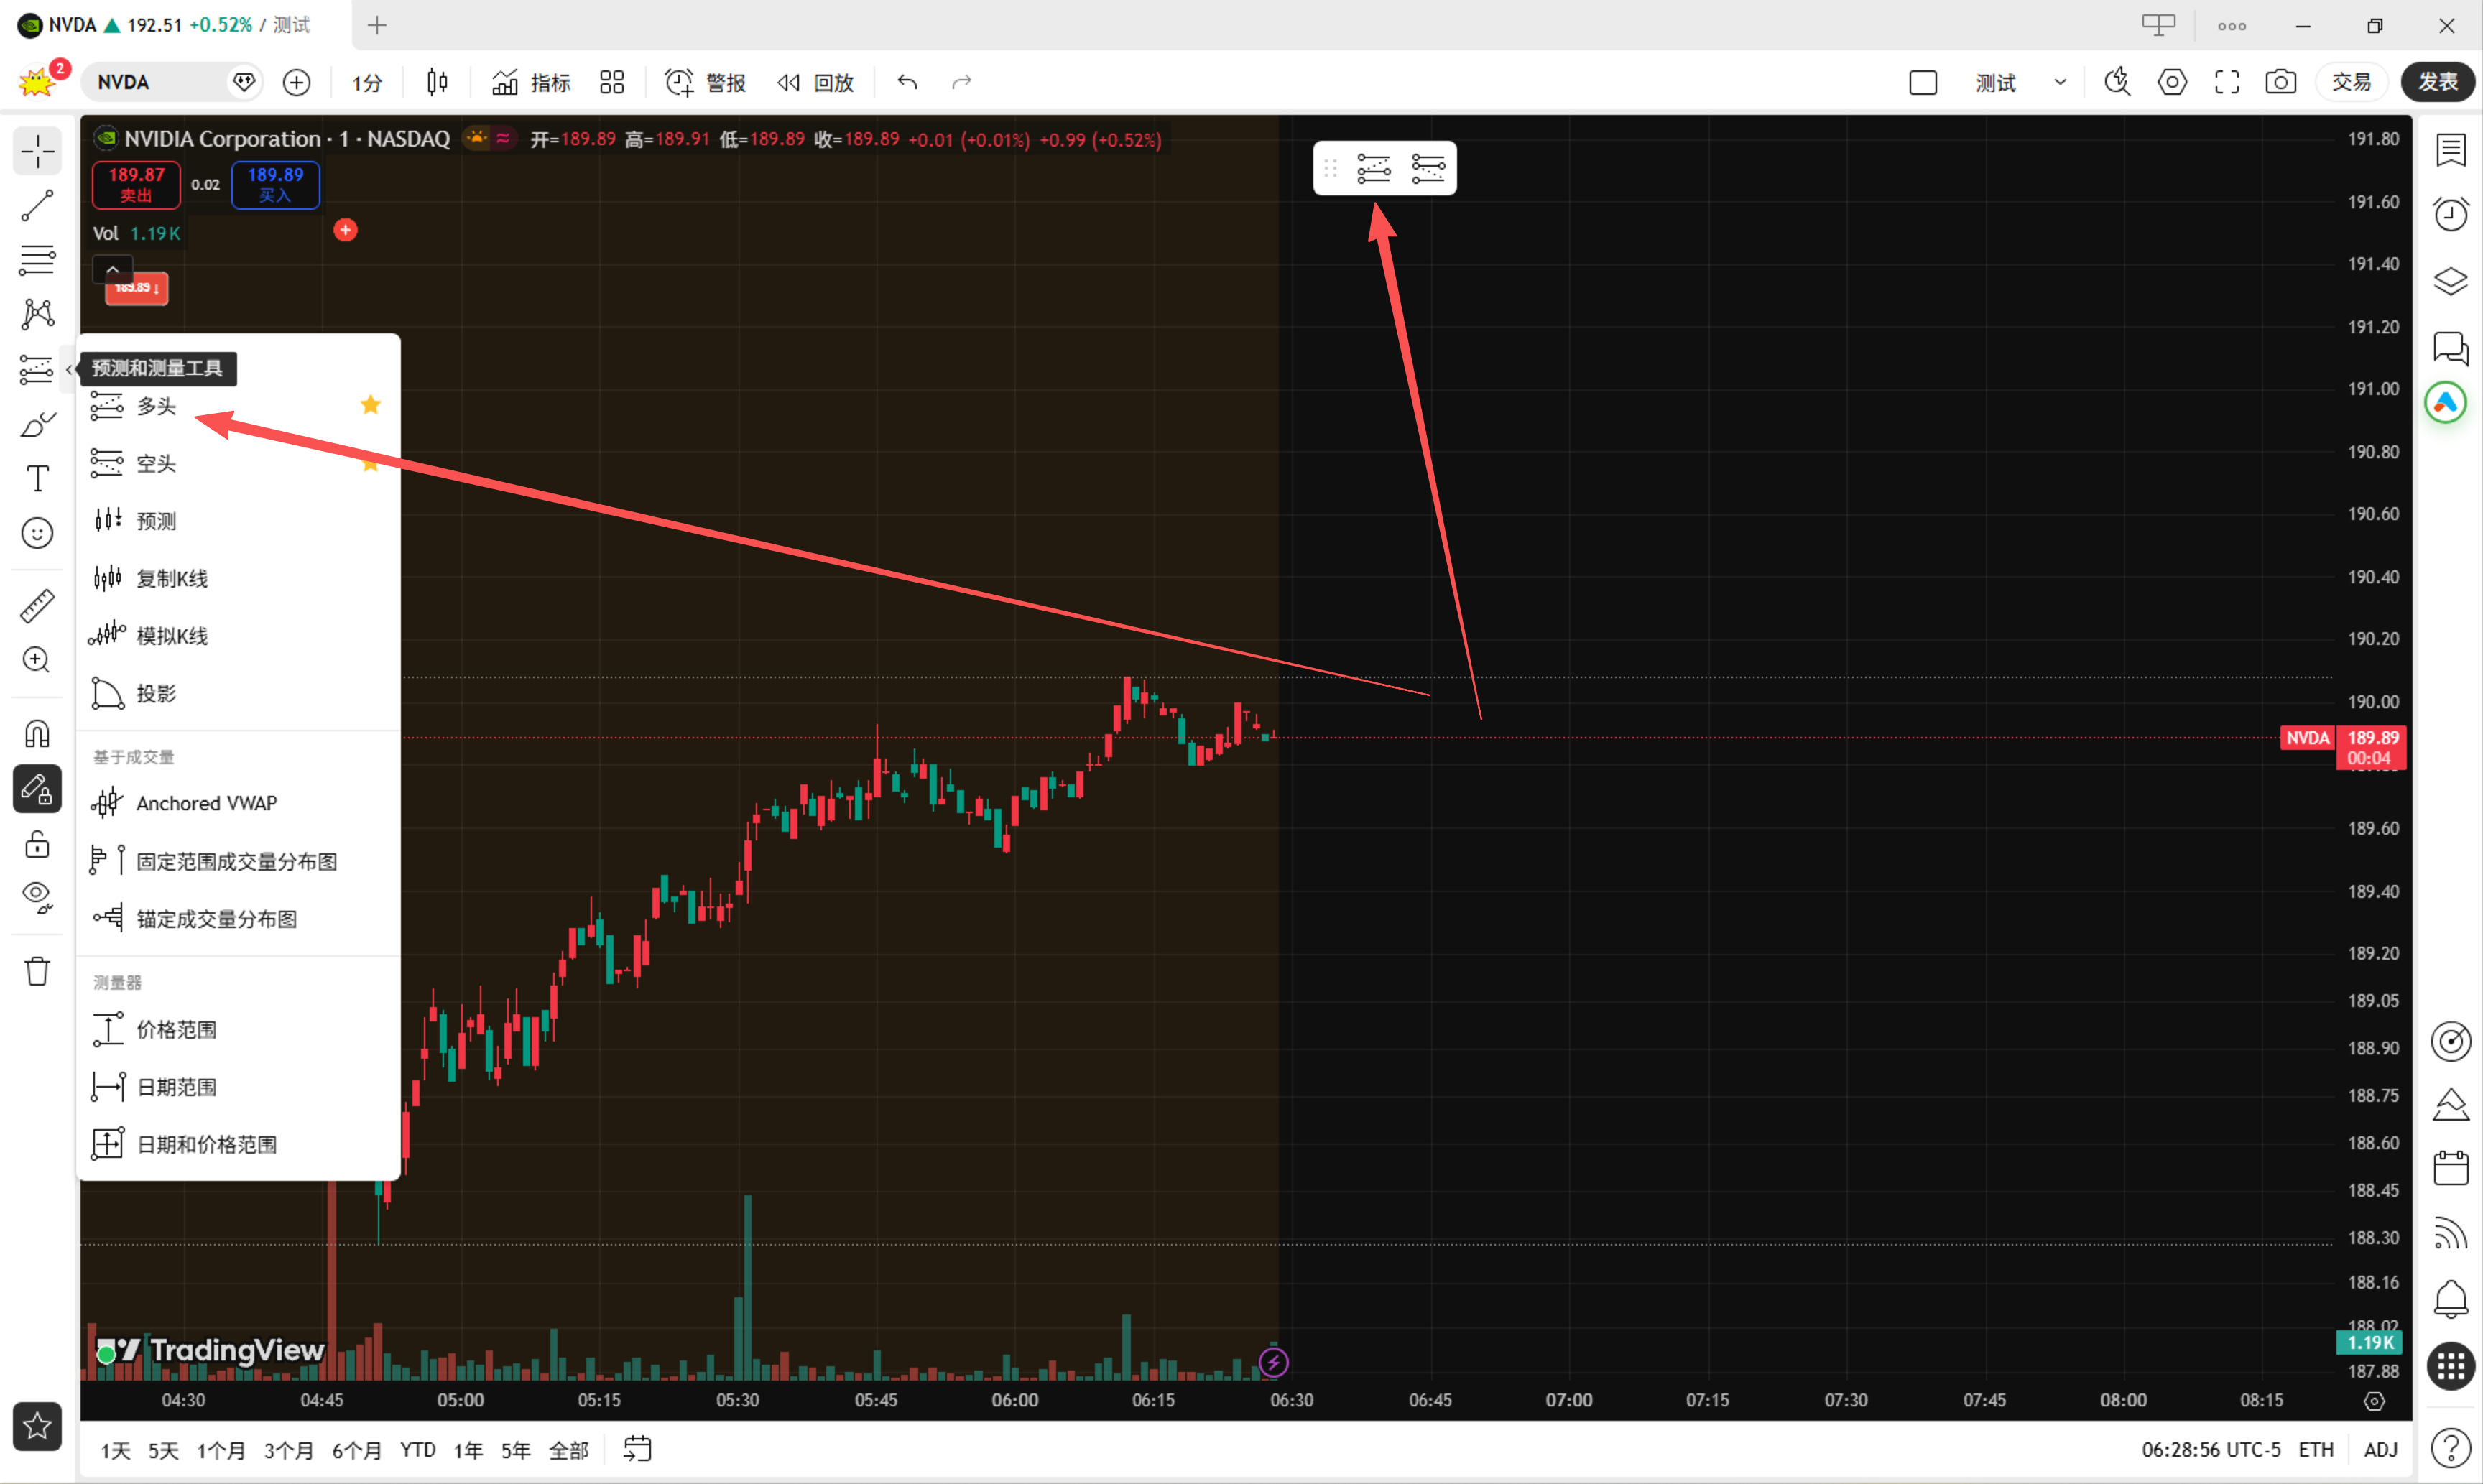
Select the Long or Short Position Tool
In TradingView's toolbar, select the Long Position or Short Position tool.
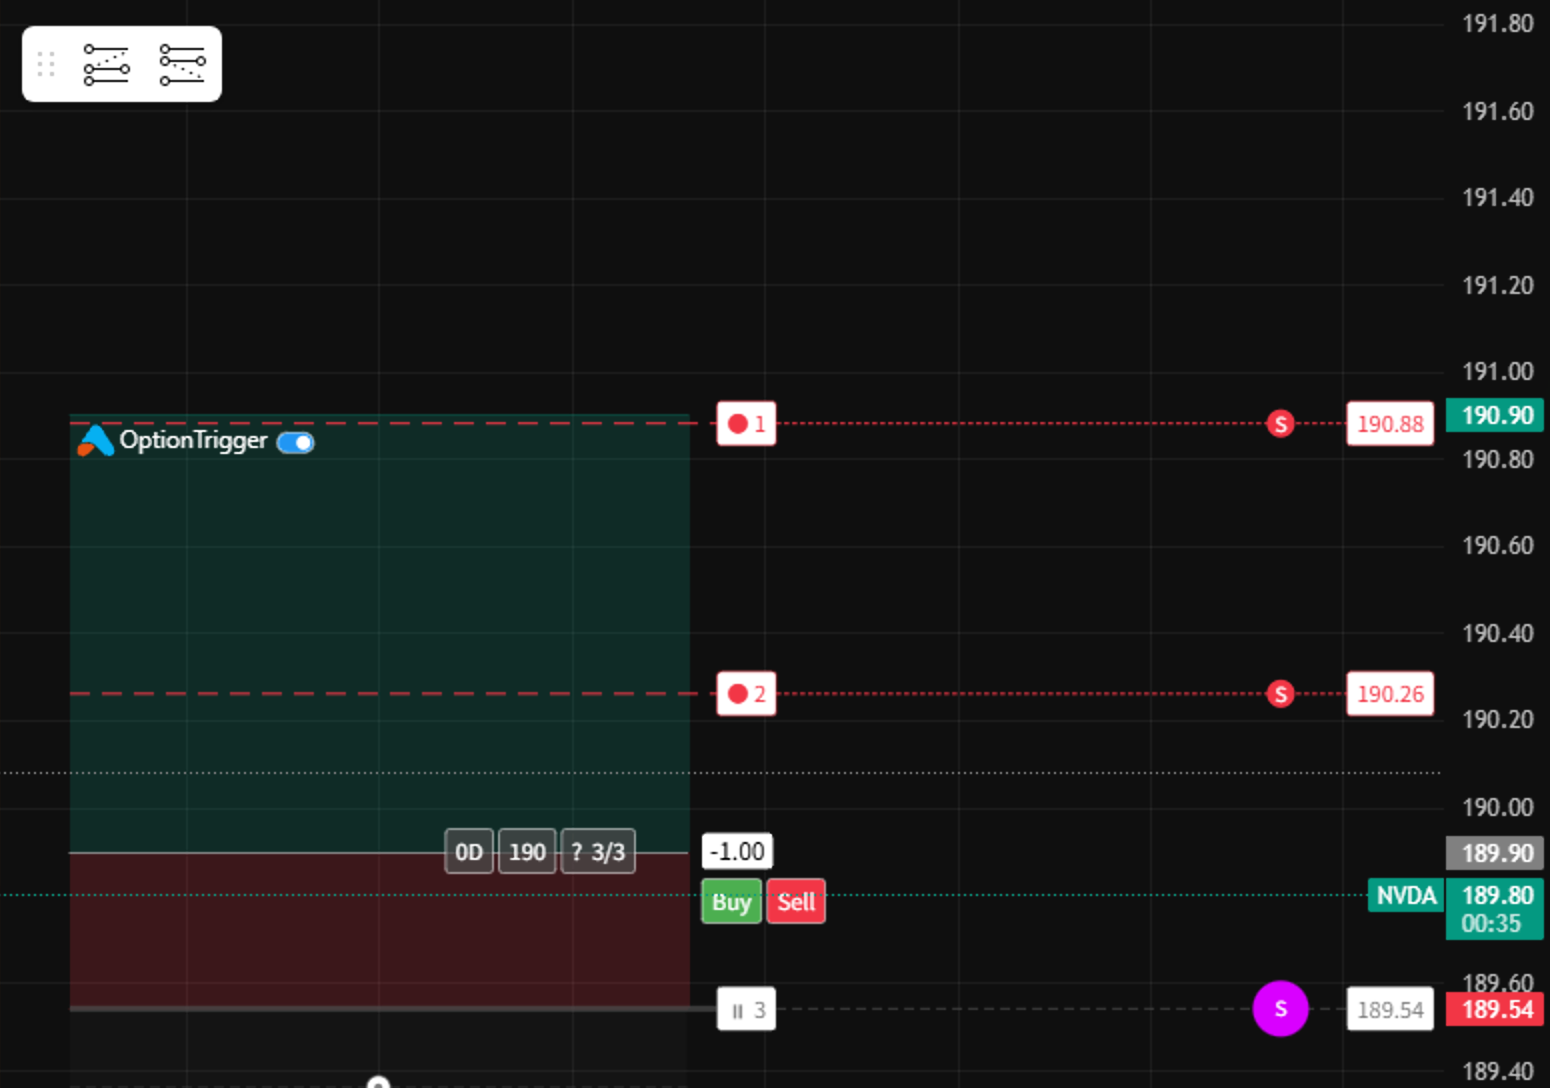
Draw Your Trade Plan
Click on the chart to set your entry point, then drag to set your take profit and stop loss levels. OptionTrigger enhances the tool with:
- Entry Circle: Visual entry point indicator
- Option Prices: Real-time option prices at each level
- Risk Calculator: Automatic position sizing
What's Next?
Congratulations! You've created your first trade plan with OptionTrigger. Here's what to explore next:
| Next Step | Description |
|---|---|
| Placing Your First Order | Learn how to execute trades (Premium) |
| Long/Short Position Tools | Master the enhanced position tools |
| Multi-Level Take Profit | Set up multiple TP targets |
| Desktop Setup Guide | Complete configuration reference |
- Trade Options on TradingView — brokers, tools, workflows
- Options Trading Automation Playbook — webhooks vs chart-native execution
- IBKR + TradingView for Options — permissions, TWS, troubleshooting
Need help? Join our Discord community for quick support, or check out the Help Center for more guides.